What AppDaemon is, and why use it over YAML or Node-RED
Home Assistant's native Automation and Script editors cover most day-to-day needs, and Node-RED adds a visual, flow-based way to build more complex logic. AppDaemon sits a step further along that spectrum: rather than YAML conditions or connected nodes, you write ordinary Python. According to AppDaemon's own documentation, an app can "register any callbacks it might need for responding to state changes, and also any setup activities" inside a single method — which in practice means a whole automation's logic, including branching, loops, and helper functions, lives in one readable file.
That matters most for automations that are hard to express declaratively: apps that track state over time (has this door been open for longer than expected across multiple sensors?), coordinate several entities with shared logic, or need real control-flow rather than a chain of triggers and conditions. Because apps are plain Python classes, they can also import any Python library, keep their own internal variables between callbacks, and be unit-tested like normal code — something that's awkward to do with YAML automations or Node-RED flows.
The trade-off is setup and maintenance overhead: AppDaemon is another process to run and keep updated, and it expects you to be comfortable writing Python rather than clicking through an editor. For a handful of simple automations, the native Automation editor or Node-RED will usually be quicker to build and easier for someone else to maintain later.
Installing AppDaemon
There are two broad routes, depending on whether you run Home Assistant OS/Supervised or a container/core install.
Home Assistant Add-on (HA OS / Supervised)
If you're running Home Assistant OS or Supervised, the simplest route is the official AppDaemon add-on, distributed through the Home Assistant Community Add-ons repository maintained by developer frenck. Add the repository under Settings → Add-ons → Add-on Store, install AppDaemon from there, and configure it through the add-on's own configuration panel. The add-on handles authentication to Home Assistant for you.
Standalone (pip or Docker)
For Home Assistant Container/Core installs, or if you'd rather run AppDaemon on separate hardware, there are two standalone options per the official docs:
- pip install — AppDaemon supports Python 3.10 or 3.11 in a dedicated virtual environment (kept separate from Home Assistant's own Python environment). Install with
pip install appdaemon, then create a configuration directory containing anappssubdirectory. If no path is specified, AppDaemon looks in default locations such as~/.homeassistant/or/etc/appdaemon. - Docker — Official multi-architecture images are published on Docker Hub for both ARM and AMD64. AppDaemon uses
/confinternally, so the container needs a host directory mounted to that path, plusHA_URLandTOKENenvironment variables so it can authenticate to Home Assistant over the API. First startup generates sample configuration files if none exist. See our Home Assistant Docker setup guide if you're already running Home Assistant itself in Docker and want AppDaemon alongside it.
Basic app structure
Every AppDaemon app has two parts: an entry in apps.yaml, and a Python file implementing the logic.
The apps.yaml entry is minimal — it just tells AppDaemon which Python module and class to load:
motion_light:
  module: motion_light
  class: MotionLight
module is the Python filename without the .py extension, and class is the class name inside that file.
The Python side is a class that subclasses AppDaemon's Hass base class and implements an initialize() method:
from appdaemon.plugins.hass import Hass

class MotionLight(Hass):
    def initialize(self):
        # register callbacks here
initialize() is mandatory and acts as the app's entry point. Per the AppDaemon documentation, it's called whenever AppDaemon starts, when the app's own code changes, when its configuration changes, or when a plugin (such as the Home Assistant connection) restarts — and whenever it runs, the app can assume any previous callbacks and timers have already been cleared, so it's safe to simply re-register everything from scratch.
Core API concepts
Most AppDaemon apps are built from a small set of API calls, all available on the app instance:
listen_state()— registers a callback that fires when an entity's state changes, with optional filters for a specific old/new state, a specific attribute, or a minimum duration the state must hold.listen_event()— registers a callback for Home Assistant or AppDaemon events, rather than entity state changes.run_daily()/run_every()— schedule a callback at the same time every day, or repeatedly at a fixed interval, both with optional randomisation of the start time so multiple installs don't all fire at the exact same second.call_service()— calls a Home Assistant service (turning on a light, sending a notification, and so on), the same services available to YAML automations.set_state()— updates or creates an entity's state and attributes directly, which is useful for exposing an app's internal calculations back into Home Assistant as its own entity.
A worked example: motion-triggered light with a timeout
A common first app is a light that turns on with motion and switches off again after a fixed period of no motion — logic that's simple in YAML for a single sensor, but gets messier once you want a shared timeout, multiple sensors, or extra conditions like "only after dark". Here's a minimal AppDaemon version:
from appdaemon.plugins.hass import Hass

class MotionLight(Hass):
    def initialize(self):
        self.listen_state(self.motion_detected, "binary_sensor.hallway_motion", new="on")

    def motion_detected(self, entity, attribute, old, new, kwargs):
        self.call_service("light/turn_on", entity_id="light.hallway")
        self.run_in(self.motion_timeout, 300)

    def motion_timeout(self, kwargs):
        self.call_service("light/turn_off", entity_id="light.hallway")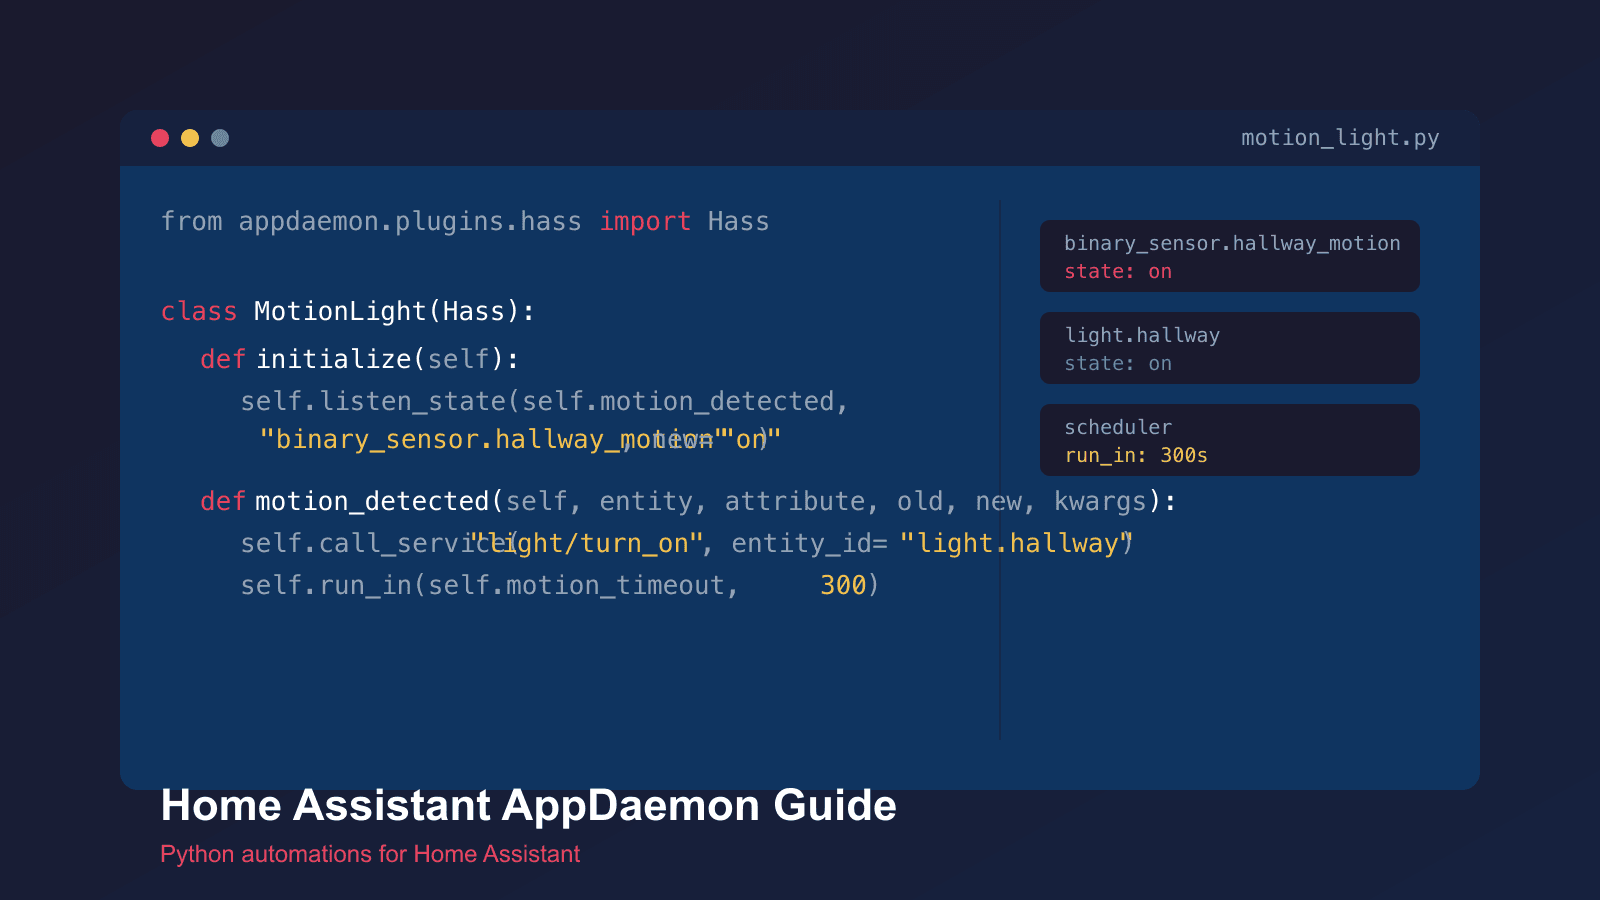
Every time the motion sensor reports on, motion_detected() turns the light on and schedules motion_timeout() to run 300 seconds later, which turns the light back off. Because this is a normal Python method, it's straightforward to extend — for example checking a sun.sun entity's state before turning the light on, or tracking multiple sensors in a shared self variable rather than duplicating the logic per sensor.
AppDaemon vs Node-RED vs native automations
None of the three is strictly better — they suit different jobs. Native Automations and Scripts are quickest for simple, single-purpose triggers and are the easiest for anyone else to read later. Node-RED is a good middle ground: its visual flows make branching logic easier to follow than nested YAML, without requiring Python. AppDaemon asks for more upfront investment — a working Python environment and comfort writing code — but pays that back on automations that need real state tracking, shared logic across many entities, or algorithms that don't map cleanly onto triggers and conditions. Many Home Assistant users run more than one of these side by side: native automations for the simple cases, and AppDaemon or Node-RED reserved for the handful of automations that actually need the extra power.