Entertainment Area vs Hue Sync Box: not the same thing
It's easy to conflate the two because they're usually mentioned together. The Entertainment Area is the software layer — the room map and the light group it defines. The Hue Sync Box is one specific piece of hardware that can feed that area live colour from an HDMI source. You don't need a Sync Box to use an Entertainment Area at all: the free Hue Sync desktop app and console-native apps can drive the same area without one. If you've already decided the HDMI hardware route is what you want, our Hue Play HDMI Sync Box review covers pricing, setup and picture-quality testing for that specific device in detail — this guide focuses on the Entertainment Area feature itself and the software-only sync options.
What you need before you start
Three things have to be in place before the Hue app will let you create an Entertainment Area:
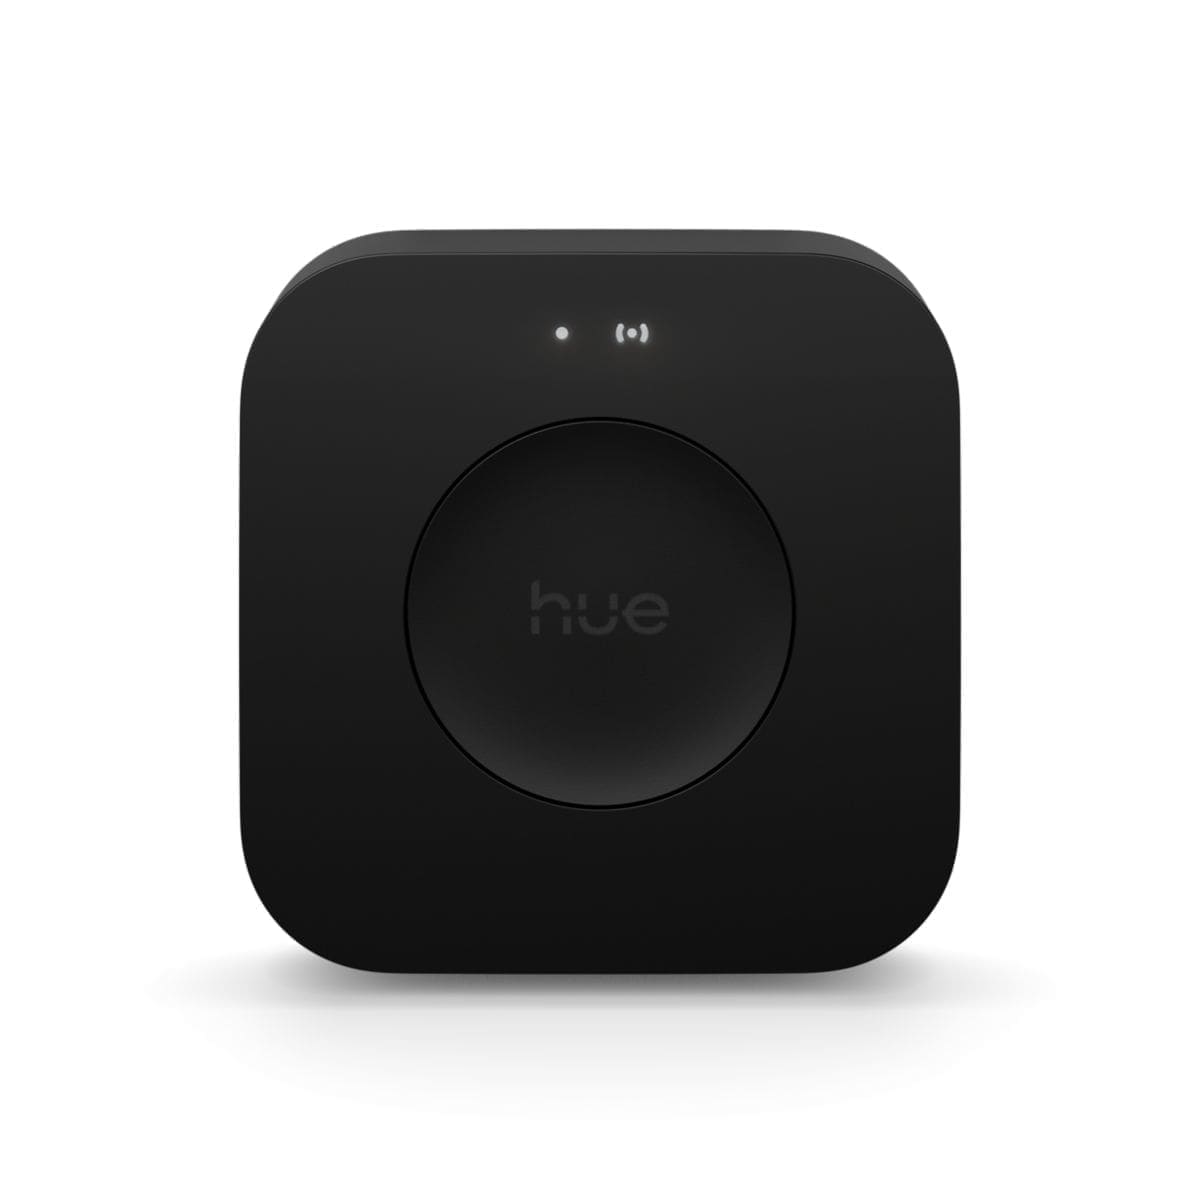
- A Philips Hue Bridge. Entertainment Areas run through the Bridge, not directly between the sync source and the lights. If you're choosing between the current and previous Bridge generations, our Philips Hue Bridge v2 review covers what changed and whether the older model is still worth buying.
- Colour-capable Hue lights. Entertainment streaming needs lights that support Hue's colour and dynamic effects range — Hue Play bars, gradient lightstrips, and White and Colour Ambiance bulbs all qualify. Plain white-only Hue bulbs can't be added to an Entertainment Area. If you're still deciding which lights to buy into, our Philips Hue vs WiZ vs LIFX comparison covers how the ecosystems differ on this kind of feature support.
- A rough sense of light positions relative to the screen. The mapping step asks you to place each light on a 2D floor-plan-style grid, roughly where it physically sits around the TV — you don't need exact measurements, but knowing which lights are left, right, behind or above the screen makes the sync noticeably more convincing.
Philips Hue's own Entertainment overview confirms an area can include up to 10 lights, which is also the ceiling the Hue Play HDMI Sync Box works within — worth knowing before you plan a large multi-light setup around a bigger room, according to Philips Hue's Sync Box product page.
Step 1: Start a new Entertainment Area and choose your lights
The mapping process happens entirely inside the Hue app, under the Entertainment Areas section of the settings menu. Start a new Entertainment Area and give it a name — most people use the room name, e.g. "Living Room TV". Then choose the room the area belongs to, and select which of the eligible colour-capable lights in that room to include.
Step 2: Place your TV on the grid
The app shows a top-down 2D layout and asks you to drop a TV icon roughly where the screen sits. Placing the TV first gives the app a fixed point to map every light against.
Step 3: Position each light relative to the screen
Drag each light onto the grid in its approximate physical position relative to the TV — left of the screen, right of the screen, behind it, or further back in the room for ambient fill lights.
Step 4: Save the area
Save the area. It's now available to any sync source — the Sync Box, the desktop app, or a console app — as a target. You can edit the layout later if you rearrange furniture or add lights, and you can have more than one Entertainment Area saved — useful if you want a tighter "TV" map for accurate video sync and a looser "room ambience" map for music mode.
The three ways to feed an Entertainment Area live colour
Once the area exists, you pick a sync source based on what you're watching or playing on. Philips Hue currently offers three routes, according to Philips Hue's Entertainment overview and its Sync apps support pages:
Hue Sync Box (HDMI hardware). A physical box that sits between your HDMI sources and the TV, reading the video signal directly and broadcasting colour data to the Entertainment area. This is the route for set-top boxes, streaming sticks, Blu-ray players and consoles that don't have a native Hue app, since it works from the raw HDMI signal rather than needing software running on the source device. It's also the only route that doesn't depend on the source device supporting Hue at all. Full pricing, setup time and picture-quality impact are covered in our dedicated Hue Sync Box review — Philips currently lists more than one Sync Box model in the UK, so check current specs and pricing before buying, since RRPs vary by generation.
Hue Sync desktop app (PC and Mac). A free application, available for both Windows and Mac according to Philips Hue's support pages, that captures your screen, a specific application window, or your system audio, and syncs your Entertainment area to it directly from the computer — no extra hardware required. This is the natural choice if most of your screen-synced viewing or gaming happens on a desktop or laptop rather than through a TV box.
Console-native sync for gaming. For gaming specifically, Philips Hue also publishes apps that run directly on the console rather than needing a PC or Sync Box in the chain, syncing lights to in-game colour and action with the low input-to-light latency that matters for fast-paced titles. Console app availability and feature parity between platforms can change with software updates, so check the current app stores for your specific console before assuming a native app exists — where one isn't available, the HDMI Sync Box covers the same console through its Game mode instead.
How this differs from general cinema-room lighting
An Entertainment Area only controls the screen-synced element of a room's lighting — it doesn't touch general ambient dimming, glare control, or scene-based lighting for when you're not watching anything. If you're planning a dedicated viewing room rather than just adding sync to an existing living room TV, our smart lighting for a home cinema guide covers the other layers — ambient dimming, glare-free accent lighting, and scenes you can trigger without pausing playback — and how to combine them with an Entertainment Area rather than relying on sync alone.
Troubleshooting common setup snags
A light doesn't appear in the eligible list. Only colour-capable lights can join an Entertainment Area — if a bulb is missing, it's most likely a White Ambiance or basic White model rather than a full-colour one.
Sync feels laggy or off-position. This is almost always a mapping issue rather than a network one — go back into the Entertainment Area editor and check the light positions actually match where they sit relative to the screen. A light placed "left" in the app but physically on the right will visibly react to the wrong side of the picture.
Can't create an Entertainment Area at all. Double-check the Bridge is on the latest firmware and that at least one colour-capable light is set up and reachable — the option won't appear in the app menu until those conditions are met.
Getting the most from it
Entertainment Areas reward a bit of planning more than expensive hardware. Two or three well-placed colour lights — one on each side of the screen and one behind it — will generally look more convincing than five lights scattered around a larger room with rough positioning. Start with a tight area around the TV, get the mapping right, and expand from there if you want a fuller-room effect for music or ambient scenes.