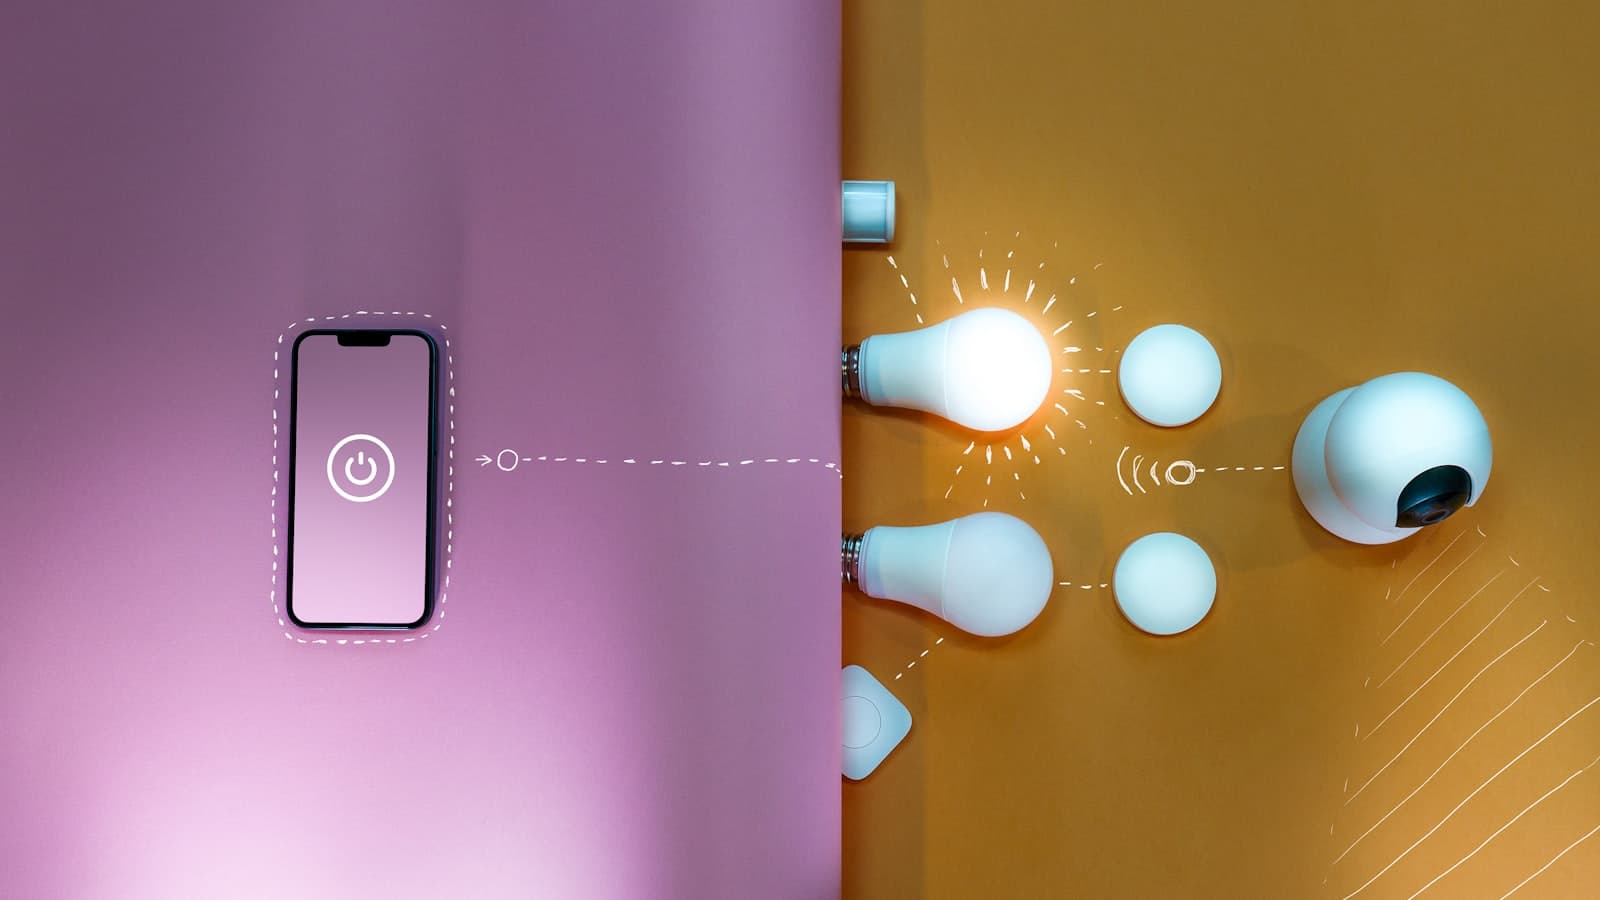
Splitting your home into smart lighting zones is one of the most practical things you can do with a smart lighting system. Rather than controlling every bulb individually or lumping the whole house into one group, zones let you say "turn off the downstairs lights" at bedtime, "boost the kitchen worktop" while cooking, or dim just the TV corner while the rest of the room stays bright. This guide walks you through how zones work, how to plan them room by room, which UK systems handle them best, and how to tie them into automations that run themselves.
Rooms, Zones and Groups — What Is the Difference?
The terminology varies by platform, but the underlying ideas are consistent:
Rooms are one-to-one with physical spaces. In the Philips Hue app a Room is exactly what it sounds like — all the lights in your kitchen form one room, all the bedroom lights form another. Rooms are mutually exclusive: each light belongs to exactly one room.
Zones cut across rooms. Philips Hue lets you create a Zone called "Downstairs" that contains lights from your hall, lounge, kitchen and dining room simultaneously. Tap the zone to turn everything off at once — without affecting upstairs. A Zone can also be a sub-division: a large open-plan kitchen-diner might have a "Cooking" zone (bright white over the worktops) and a "Dining" zone (warmer, dimmer over the table), even though both sit within the same physical room.
Groups are the more general term used by platforms like Home Assistant and the Zigbee protocol. In Home Assistant you create Areas (Settings → Areas, labels & zones) that work like rooms, then use Light Group helpers to bundle multiple entities — from any area — into a single controllable entity. Because a light group is just another entity, you can use it in automations, scripts and dashboards exactly like a single bulb.
Planning Your Lighting Zones
Before buying a single bulb, sketch out which zones your home needs. A useful rule of thumb: create a zone wherever you want independent control of the lighting mood or level. Here is how to think about each room type.
Living Room
Recommended zones: main overhead, reading corner, TV bias lighting. The living room benefits most from zoning because the activities change so much — working, watching TV, entertaining, reading. A "Movie Night" scene dims the overhead to 5%, brings up the LED strip behind the TV to a warm amber, and leaves the reading lamp alone. Overhead lights typically need to hit around 200–300 lux for general living, while task lighting at a reading chair should reach 400–500 lux to avoid eye strain.
Kitchen
Recommended zones: ceiling/pendants, under-cabinet worktop LEDs, island or dining area. UK Building Regulations (Part L) recommend a minimum of 500 lux at worktop level for food preparation. Smart LED strips under the cabinets paired with dimmable ceiling downlights give you the flexibility to cook under bright task lighting and then dial down to dining mood without changing rooms.
Bedroom
Recommended zones: ceiling/overhead, bedside lamps (left and right independently if a couple shares the room), wardrobe spotlights. A wake-up scene that gradually brightens from 0% to 50% over 30 minutes — mimicking a sunrise — is one of the most popular bedroom automations. Set a separate bedtime scene that fades to 1% warm white at 22:00, helping signal to the brain that it is time to wind down. Smart bulbs for bedside lamps typically cost from £10 to £35 each, prices vary by retailer.
Hallway and Stairs
Recommended zones: ground-floor hall, landing, stair lights. Hallways are prime territory for motion-activated lighting. A Zigbee or Z-Wave PIR sensor (typically from £12 to £30, prices vary by retailer) can trigger hall lights at 100% brightness during the day and 20% after 23:00, so late-night bathroom trips don't mean full illumination. Occupancy sensors used for lighting control can reduce energy consumption in passageway areas by up to 24%.
Home Office
Recommended zones: desk task light, ambient ceiling, monitor bias light. A "Focus" scene sets colour temperature to a cool daylight white (around 4,000–5,500 K) to improve alertness, while an "End of Day" scene shifts to a warm 2,700 K to ease the transition to evening. This colour-temperature approach is supported by research into circadian-friendly lighting, and most modern smart bulbs support a full colour temperature range.
Choosing the Right System for Zones
The platform you choose determines how flexible your zones can be and whether they work offline.
Philips Hue
Hue's Room and Zone system is the most polished consumer option available in the UK. Rooms and Zones are first-class features in the Hue app; each gets its own scenes, schedules and automations. A Hue Bridge v2 starter kit with three White and Colour Ambiance bulbs typically costs from £80 to £120, prices vary by retailer. The key limitation is that Hue Zones are currently not picked up by Amazon Alexa voice commands — you can say "turn off the living room" (a Room) but not "turn off downstairs" (a Zone) via Alexa. Apple HomeKit and Google Home handle Hue Rooms natively. For more detail on Philips Hue's ecosystem, see our Philips Hue starter kit review.
IKEA TRÅDFRI / DIRIGERA
IKEA's 2025–26 Matter-compatible range is compelling for budget-conscious UK buyers. An E27 colour bulb costs from £8 to £15 (prices vary by retailer) — roughly half the price of the equivalent Hue bulb. The DIRIGERA hub organises lights into rooms and supports scenes. Because newer TRÅDFRI bulbs use Matter over Thread, they integrate directly with Apple Home, Google Home and Amazon Alexa without platform lock-in, making them an excellent choice for a multi-zone setup across a larger home.
WiZ and Govee
Wi-Fi-based systems like WiZ (owned by Signify, the same parent company as Philips Hue) and Govee operate without a separate hub, connecting directly to your router. They support room grouping in their respective apps and work with Alexa and Google Assistant. The trade-off is that they rely on cloud connectivity for most features, and very large installations (15+ bulbs) can strain a congested Wi-Fi network. WiZ now supports Matter on select devices, moving it closer to the hub-based systems in terms of reliability.
Home Assistant
If you want maximum flexibility and local control, Home Assistant automations can manage lighting zones from any brand in a single interface. Home Assistant's Areas map directly to physical rooms; Light Group helpers let you merge bulbs from multiple areas. You can write automation triggers based on time, presence, sun position, or sensor state — and because everything runs locally on hardware like a Raspberry Pi 5, it works even when your internet is down. The trade-off is setup complexity: expect an hour or two of configuration for a well-organised multi-room system.
Energy and Cost Considerations
Smart lighting zones make it easier to avoid wasting electricity on empty rooms. The UK electricity unit rate under the Ofgem price cap for July–September 2026 is 26.11 pence per kWh (average across England, Scotland and Wales, including 5% VAT). A typical 8 W LED smart bulb running for eight hours a day costs roughly 1.7 pence per day. Multiply by 20 bulbs across a house and you are looking at 34 pence a day — but if zone automation turns off lights that were previously left on by habit, savings of 20–40% on the lighting portion of your bill are achievable.
Motion-triggered zones in hallways and bathrooms deliver some of the fastest payback. A PIR sensor costs from £12 to £30 (prices vary by retailer) and will reliably prevent lights being left on in rooms nobody is using. Pair a motion sensor with a five-minute timeout in your chosen platform's automation editor and the zone takes care of itself.
Setting Up Zones: Step-by-Step
The exact steps depend on your platform, but the sequence is the same everywhere:
1. Inventory your lights. List every bulb and fitting by room. Note whether each is a ceiling fixture, a lamp, an LED strip, or a spotlight.
2. Decide your zone boundaries. Start simple — one zone per room plus one whole-floor zone. Add sub-zones (e.g. worktop versus dining) only where you know you'll use them regularly.
3. Add bulbs to rooms first. In Philips Hue, Home Assistant, or IKEA's app, assign every bulb to its physical room before creating cross-room zones. This keeps the hierarchy clean.
4. Create cross-room zones. In Hue, go to Settings → Rooms & zones → Create new → Create zone. In Home Assistant, use Helpers → Create helper → Group (Light). Name zones clearly: "Downstairs", "Upstairs", "Night Lights".
5. Build your scenes. For each zone, create at least three scenes: a bright daytime setting, a relaxed evening setting, and an off/minimal night setting. These become the building blocks for automations.
6. Automate. Link scenes to time-of-day triggers, motion sensors, or voice commands. The goal is a system that requires zero manual intervention on a normal day — the lights should just be right for whatever you're doing.