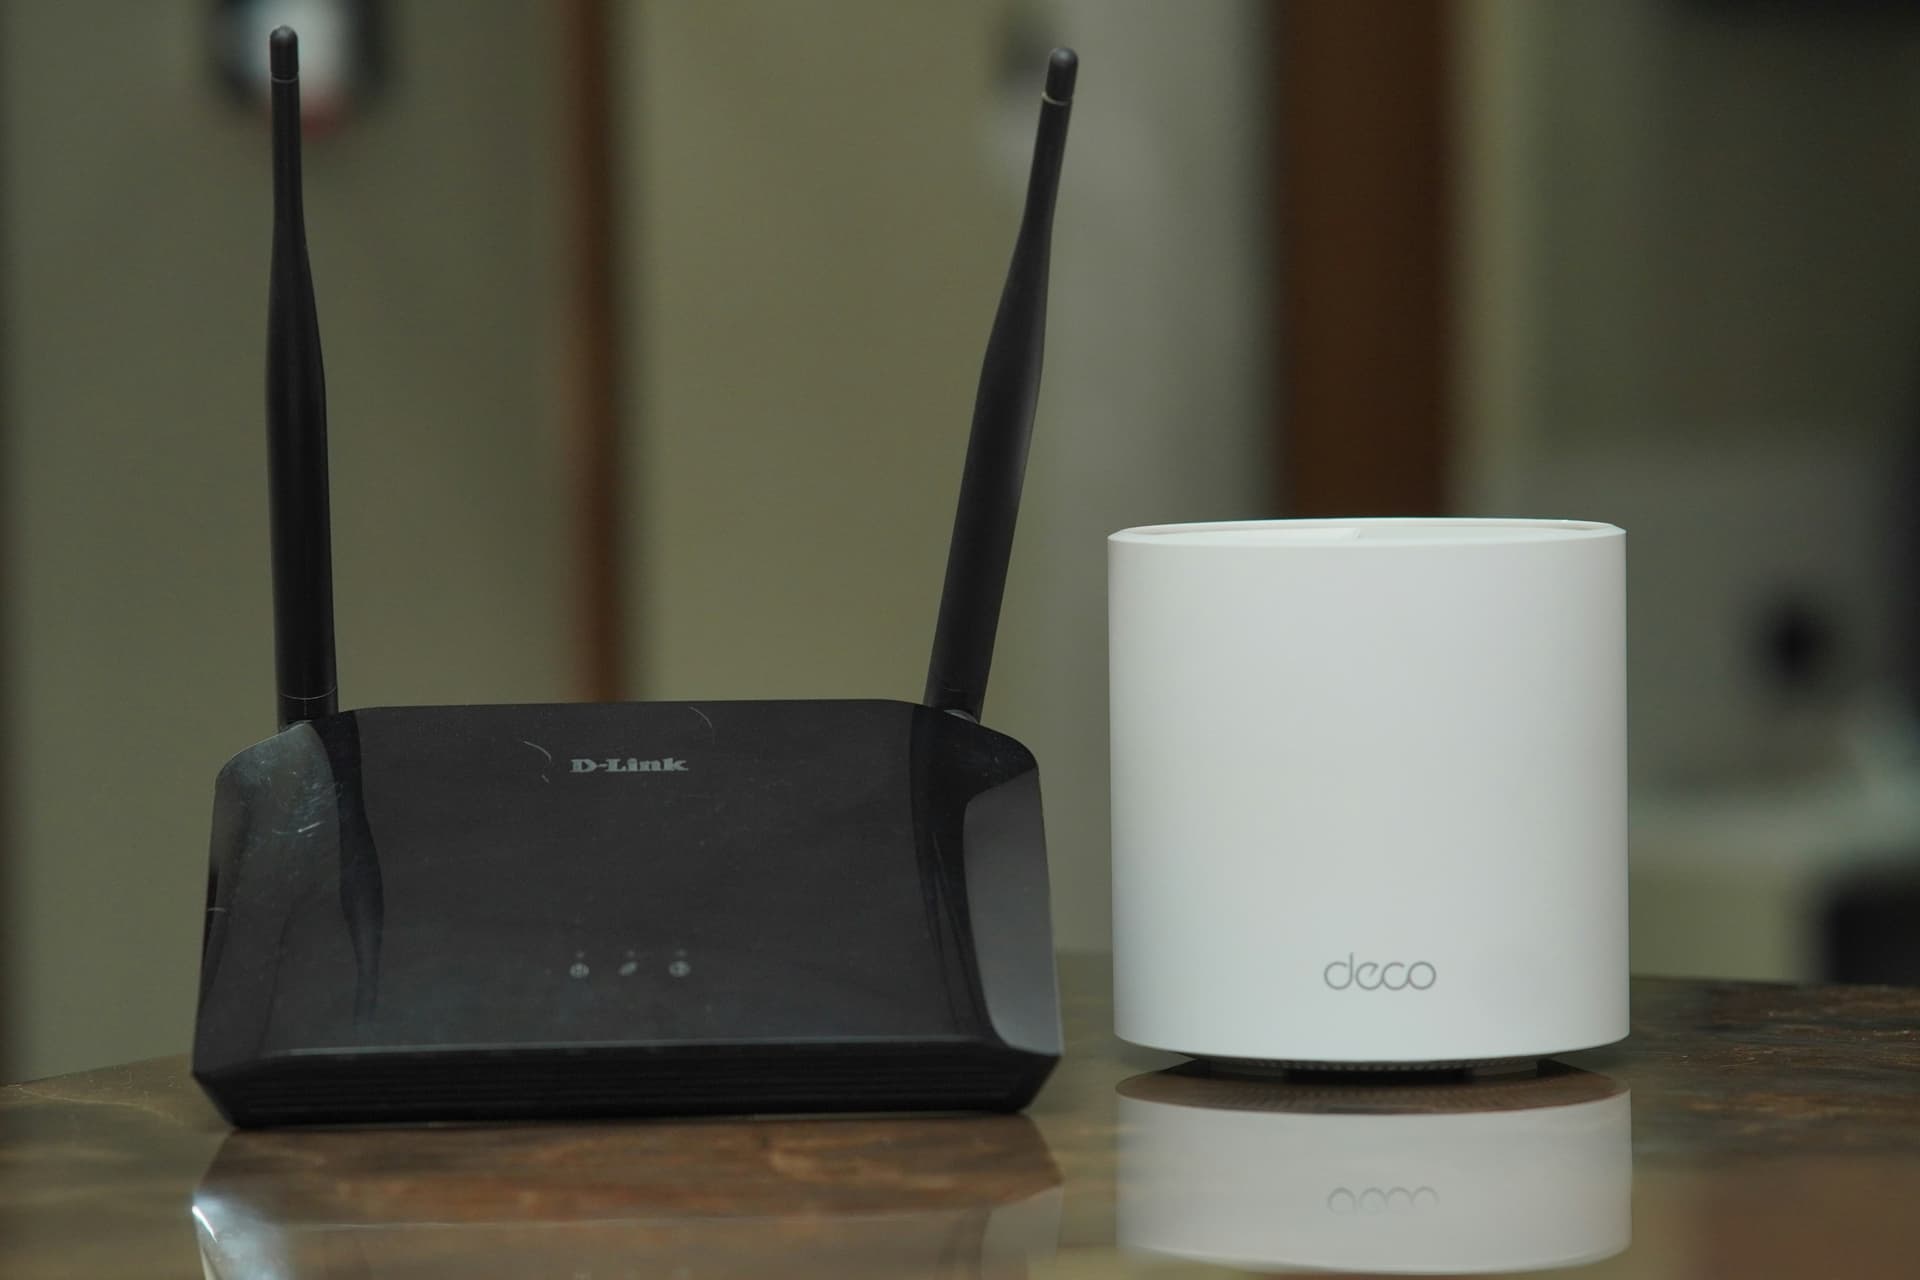
A Network Attached Storage (NAS) device gives every computer, phone, and tablet on your home network access to a shared pool of storage — without cloud subscriptions or monthly fees. Dedicated NAS boxes from Synology or QNAP are excellent, but a two-bay Synology DS223 costs upwards of £250 before you add drives. A Raspberry Pi 5 running OpenMediaVault does much the same job for around £150 all-in, and uses a fraction of the electricity.
This guide walks through a complete raspberry pi nas setup uk build: choosing the right hardware, installing OpenMediaVault, formatting your drives, and making files available to every device on your network over SMB (Windows) and NFS (Linux and Mac). If you want to go straight to comparing Pi vs. commercial NAS options, see our best NAS for home UK roundup.
What You'll Need
Keep the parts list lean — you can always expand later. Here is what the build uses:
- Raspberry Pi 5 (8 GB RAM) — around £80 from the Raspberry Pi Foundation or approved UK resellers such as Pimoroni or The Pi Hut. The Pi 5 is substantially faster than the Pi 4 for NAS workloads thanks to its newer CPU and proper PCIe-backed USB 3.0 controller.
- USB 3.0 SATA dock or enclosure — around £20–30. Models from Inateck or UGREEN are well regarded. A dual-bay dock lets you add a second drive later.
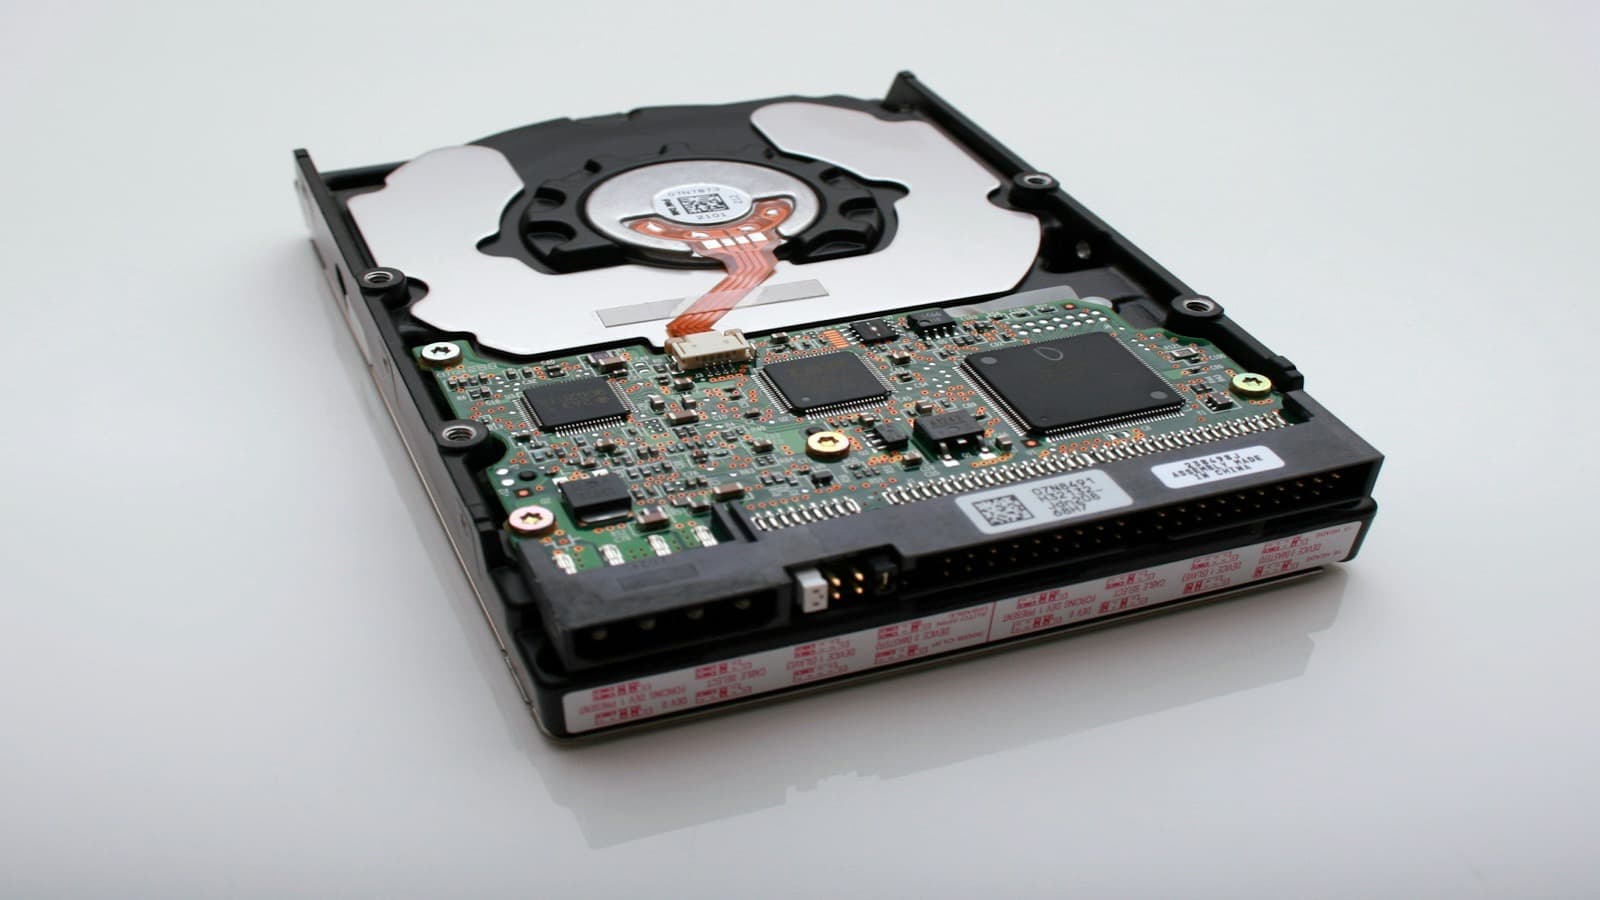
- 2 TB 3.5" or 2.5" HDD — around £50. Seagate Barracuda and WD Blue are widely available in the UK. NAS-rated drives (Seagate IronWolf, WD Red) are preferable for always-on use but cost a little more.
- MicroSD card (32 GB+) or USB boot drive — for the operating system. A 32 GB SanDisk Endurance card costs around £8.
- Official Raspberry Pi 5 power supply (27W USB-C) — around £12. Third-party chargers often cannot deliver enough current under disk load.
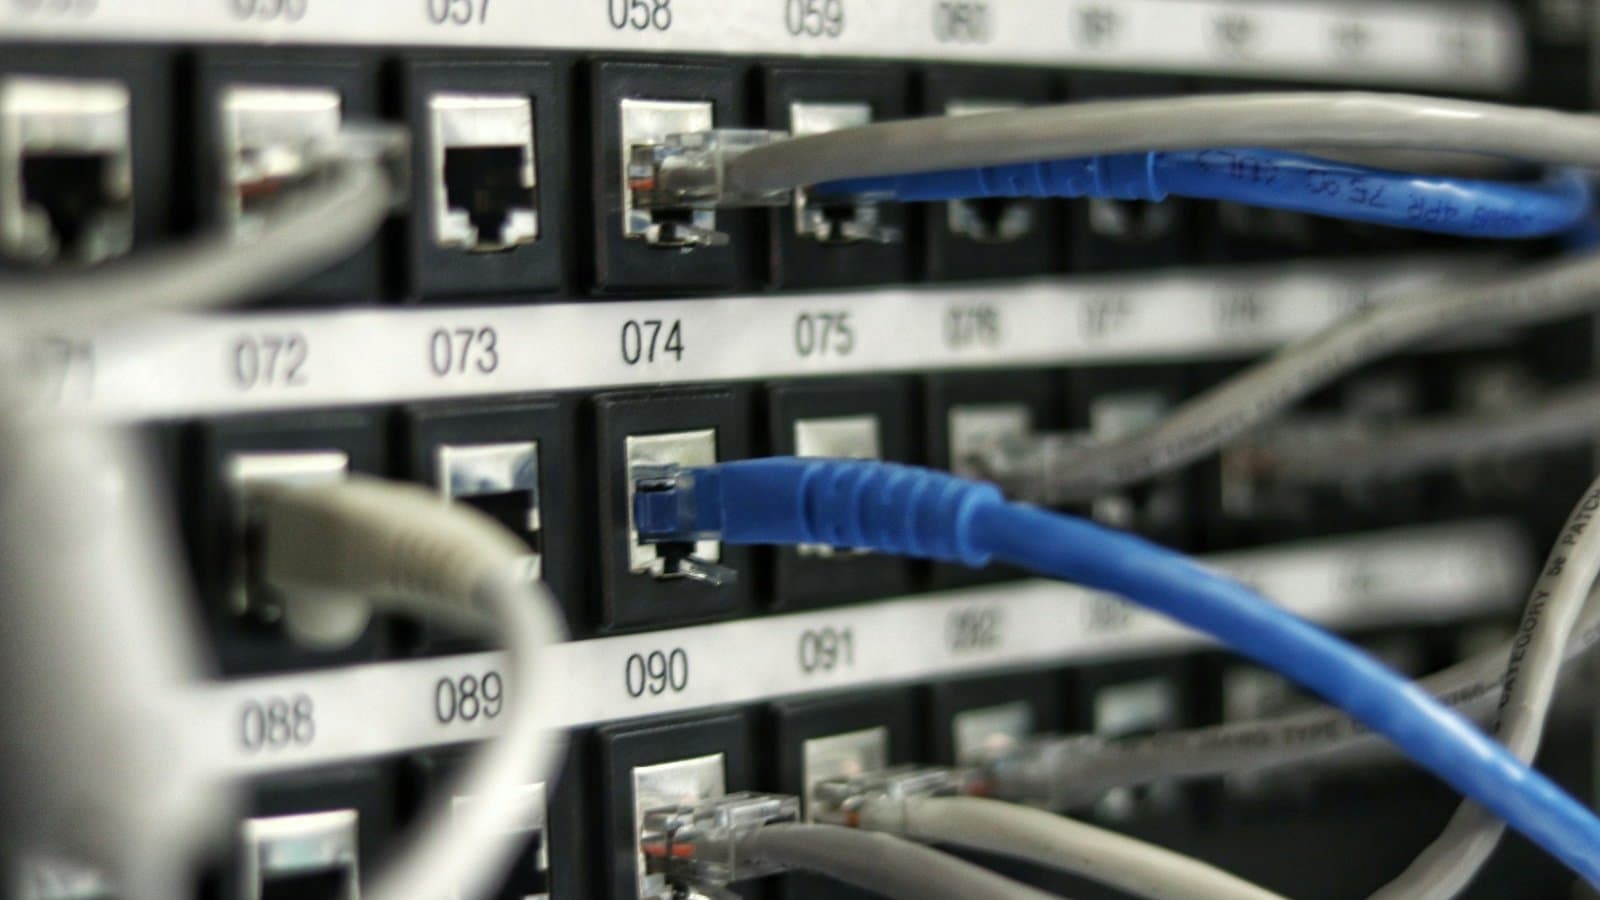
- Ethernet cable — wired is strongly recommended for NAS use; Wi-Fi introduces latency and reliability issues.
Total cost: approximately £150–160, compared with £250+ for a Synology DS223 (without drives). You can buy these components with Amazon affiliate links — for example, search for the UGREEN USB SATA dock on Amazon UK or the Seagate Barracuda 2TB drive. Prices vary by retailer and change frequently.
Setting Up the Raspberry Pi
Install Raspberry Pi OS Lite
OpenMediaVault runs best on a minimal OS. Use the Raspberry Pi Imager (free download from raspberrypi.com) to write Raspberry Pi OS Lite (64-bit) to your microSD card or USB drive. In the Imager's advanced options, set a hostname (e.g. pi-nas), enable SSH, and set your username and password before writing — this lets you manage the Pi headlessly from day one.
Boot the Pi, connect it via Ethernet, and SSH in from your PC or Mac:
ssh pi@pi-nas.localRun a full system update before installing anything:
sudo apt update && sudo apt upgrade -yInstall OpenMediaVault
OpenMediaVault (OMV) is a free, open-source NAS operating system built on Debian Linux. It provides a web-based control panel for managing drives, file systems, users, and sharing protocols — no Linux expertise required once it's running. The OMV project maintains an official install script for Raspberry Pi OS:
wget -O - https://github.com/OpenMediaVault-Plugin-Developers/installScript/raw/master/install | sudo bashThe script takes around 10–15 minutes. The Pi will reboot automatically. Once it's back online, access the OMV web interface by navigating to http://pi-nas.local in your browser. The default credentials are username admin and password openmediavault — change these immediately.
Configuring Your Storage
Connect your SATA dock to one of the Pi 5's USB 3.0 (blue) ports and plug in your hard drive. In the OMV web interface:
- Go to Storage → Disks and confirm your drive appears (e.g.
/dev/sda). - Go to Storage → File Systems and click Create. Choose ext4 for a single drive — it's stable, well-supported, and fast on Linux.
- Select the drive, give the file system a label, and click Save. OMV will format the drive (this erases all existing data).
- Once formatted, click Mount to make it available.
- Click the yellow banner at the top to Apply Changes — OMV requires you to explicitly apply any changes you make.
A note on data protection: A single USB-connected drive has no redundancy. If the drive fails, data is lost. For a basic backup strategy, consider a second drive and SnapRAID (available as an OMV plugin) — it provides parity protection without RAID performance overhead. MergerFS can pool multiple drives into one large virtual volume. Neither is hardware RAID, but both are practical for home use.
Setting Up File Sharing
Create a Shared Folder
Before enabling any sharing protocol, you need a shared folder. In OMV go to Storage → Shared Folders, click Add, give it a name (e.g. Media), select your mounted file system, and set permissions. A simple starting point: owner read/write, group read/write, others read-only.
SMB/CIFS for Windows (and Mac)
SMB is the standard Windows file sharing protocol and is also supported by macOS Finder. In OMV navigate to Services → SMB/CIFS, enable the service, then add a share pointing to your shared folder. Key settings:
- Set Public to No and require authentication (create a user under User Management → Users first).
- Enable Browseable so the share appears in Windows Explorer's network list.
On Windows, open File Explorer and type \\pi-nas in the address bar. On Mac, use Finder → Go → Connect to Server and enter smb://pi-nas.local.
NFS for Linux and Mac
NFS offers better raw performance on Linux clients. Enable it under Services → NFS in OMV, add a share, and restrict access to your local subnet (e.g. 192.168.1.0/24) for security. On a Linux client, mount with:
sudo mount pi-nas.local:/export/Media /mnt/nasSFTP for Remote Access
If you need to access files from outside your home network, OMV enables SFTP via the SSH daemon by default. Use a client such as FileZilla or WinSCP, and consider setting up a VPN on your router rather than exposing SSH to the internet directly. Our home server setup UK guide covers remote access options in more detail.
Performance: What to Expect
The Raspberry Pi 5's USB 3.0 controller can sustain around 300–400 MB/s sequential throughput in ideal conditions, but a mechanical hard drive typically caps out at 100–180 MB/s — so the drive is the real bottleneck for most home NAS workloads. Over a Gigabit Ethernet network you'll see real-world transfer speeds of 80–110 MB/s, which is fast enough to stream 4K video, back up photos, and serve files to multiple devices simultaneously.
The Pi 5 idles at around 5–8W under a typical NAS load. A Synology DS223 consumes 20–30W at idle. At UK electricity rates (around 24p/kWh in 2026), running a Pi NAS 24/7 costs roughly £10–17 per year in electricity versus £42–63 per year for the Synology — a saving of around £30–45 annually.
Raspberry Pi NAS vs Buying a Synology
The honest answer is: it depends on what you value.
| Raspberry Pi NAS (~£150) | Synology DS223 (~£250 + drives) | |
|---|---|---|
| Up-front cost (no drives) | ~£100 | ~£250 |
| Power (idle) | 5–8W | 20–30W |
| RAID support | Software only (SnapRAID/MergerFS) | Hardware RAID 1, 5, 6, SHR |
| Hot-swap drives | No | Yes |
| Reliability | Good; USB less stable than SATA | Excellent; purpose-built |
| App ecosystem | OMV plugins; any Linux software | Synology Package Centre (mature) |
| Learning curve | Moderate; Linux familiarity helpful | Low; polished UI |
Choose the Pi NAS if: you're on a tight budget, you already own a Raspberry Pi, you want a learning project, or your storage needs are modest (1–2 drives, under 8 TB). The Pi is also a great platform if you plan to run other services alongside the NAS — Home Assistant, Pi-hole, or a game server. See our guide to running Home Assistant on a Raspberry Pi 5 for how to combine both on one device.
Choose a commercial NAS if: reliability is critical (e.g. business files, irreplaceable photos), you need hardware RAID, you want hot-swappable drives, or you plan to scale beyond 2–4 drives. In those cases, a Synology or QNAP is worth the premium — our best NAS for home UK guide has current recommendations.
Is a Raspberry Pi NAS Worth It in the UK?
If you enjoy tinkering and want to understand how NAS hardware and software actually work, the Pi NAS is genuinely rewarding. OpenMediaVault is stable and actively maintained. The Pi 5 is powerful enough to transcode video, run Docker containers, and serve files simultaneously without breaking a sweat.
The main caveats are honest ones: USB 3.0 is less reliable than a dedicated SATA backplane for always-on storage, there's no hot-swap, and you're responsible for your own backups and data protection strategy. For a secondary backup target or a media server, those trade-offs are entirely acceptable. For your only copy of critical data, add SnapRAID or a second drive from day one.
At £150 all-in versus £300+ for a Synology with drives, the Pi NAS saves enough money to buy two more drives — and teaches you skills that transfer to every Linux system you'll ever touch.
Related: best NAS for home UK, Home Assistant on Raspberry Pi 5, and home server setup UK guide.