What do you need before you start?
You need four things already working in Home Assistant: a camera entity that supports camera.snapshot (Reolink, TP-Link Tapo, UniFi Protect, and Ring via the Home Assistant integration all qualify), a binary sensor for person or motion detection tied to that camera, an AI provider configured for AI Task use — OpenAI or Google Generative AI are the two most commonly used — and a notification target, typically the Home Assistant mobile app. A TTS-capable speaker is optional, for having the commentary read aloud through a smart speaker rather than just landing as a push notification.
How does the automation actually work?
The automation triggers on your person/motion binary sensor switching to "on". From there it captures two or three snapshots a couple of seconds apart — a single frame often misses the moment, so multiple frames give the AI model actual motion context to describe. Those snapshots get sent to the ai_task.generate_data action along with a prompt, and the response comes back as plain text that gets pushed to your phone (and optionally spoken through a speaker). The prompt is where the personality lives — something in the spirit of: "You are a live reality-TV commentator narrating the front porch. Be playful and dramatic, but stay factual — only describe what is visible. Output exactly 1–2 short sentences, never a paragraph." Swap the tone to whatever fits — deadpan, formal, over-the-top — the AI Task action follows the prompt closely as long as you keep the output length constrained.
Step-by-step: adding the AI Task integration
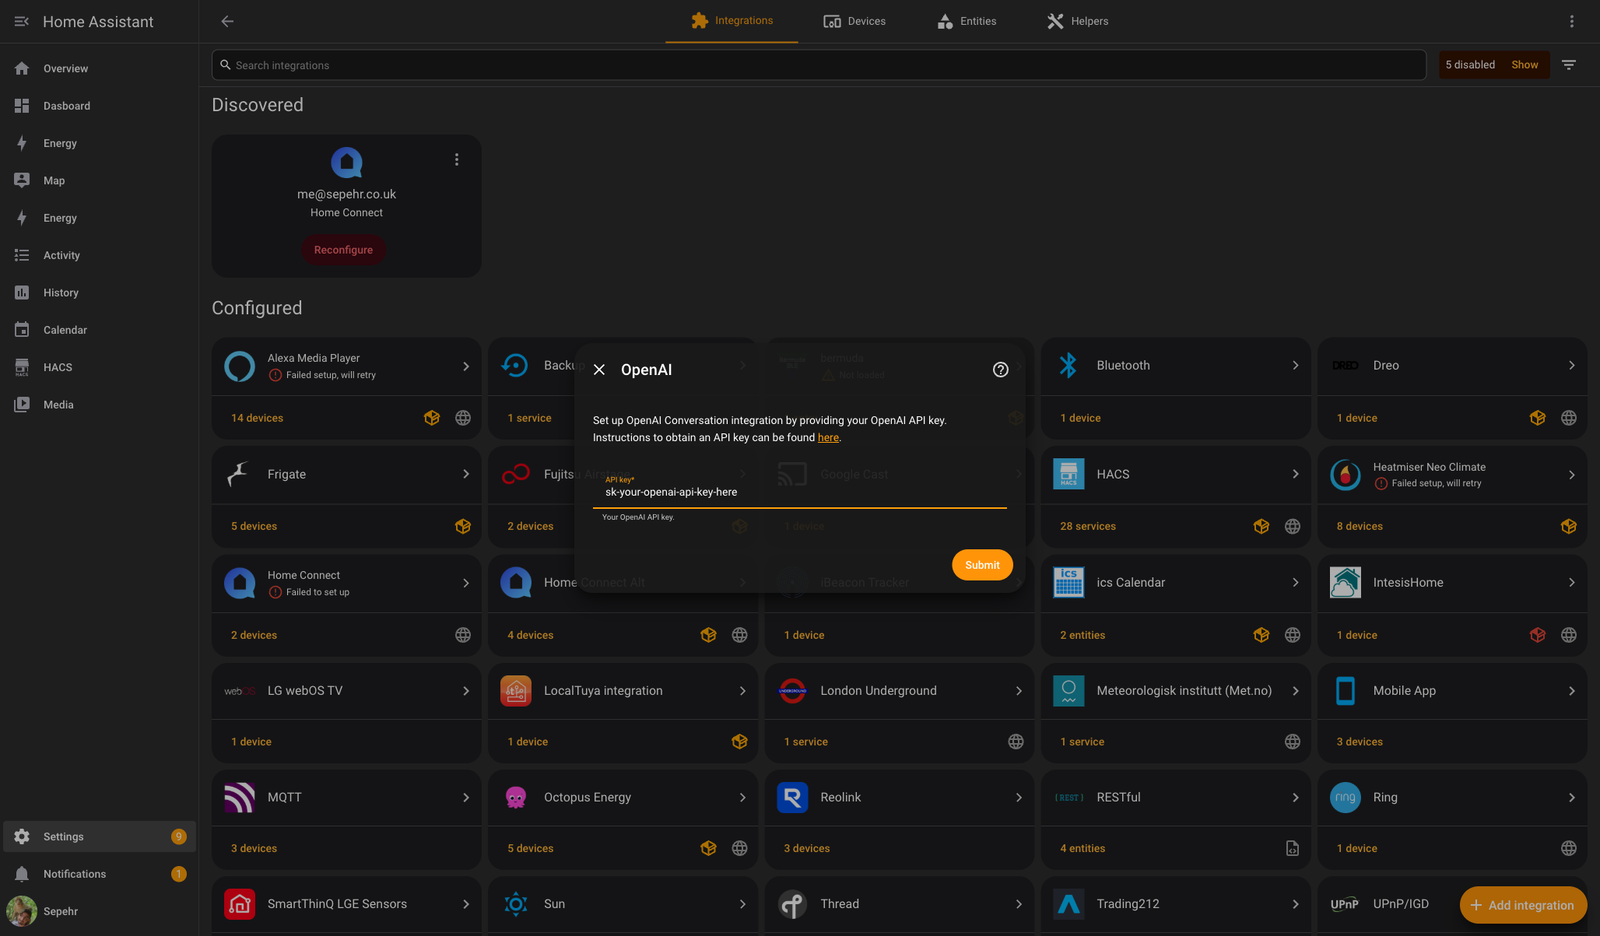
AI Task isn't an integration you add directly — it's a capability that OpenAI Conversation and Google Generative AI both provide, so you set it up through one of those. In Home Assistant: go to Settings > Devices & services > Add Integration, search for either OpenAI Conversation or Google Generative AI, and enter your API key when prompted. Once the integration is added, open its entry from the Devices & services list and add an AI Task entry alongside any Conversation, STT, or TTS entries it already created — this is the entity you'll reference as entity_id in the automation below.
Step-by-step: building the automation
With an AI Task entity available, create a new automation (Settings > Automations & scenes > Create Automation > Skip to YAML) and use your person/motion binary sensor as the trigger. The action sequence is: take a snapshot from the camera, give the file a moment to finish writing, call ai_task.generate_data with the snapshot as an attachment and your prompt as instructions, then push the result with a notify action. Swap the entity IDs below for your own camera and sensor:
alias: Doorbell AI commentary
triggers:
  - trigger: state
    entity_id: binary_sensor.doorbell_person
    to: "on"
actions:
  - action: camera.snapshot
    target:
      entity_id: camera.doorbell
    data:
      filename: "/media/snapshots/doorbell_latest.jpg"
  - delay: "00:00:03"
  - action: ai_task.generate_data
    data:
      task_name: "doorbell commentary"
      instructions: >
        You are a live reality-TV commentator narrating the front porch.
        Be playful and dramatic, but stay factual - only describe what is
        visible. Output exactly 1-2 short sentences, never a paragraph.
      attachments:
        media_content_id: media-source://media_source/local/snapshots/doorbell_latest.jpg
        media_content_type: image/jpeg
    response_variable: doorbell_line
  - action: notify.mobile_app
    data:
      message: "{{ doorbell_line.data }}"
mode: single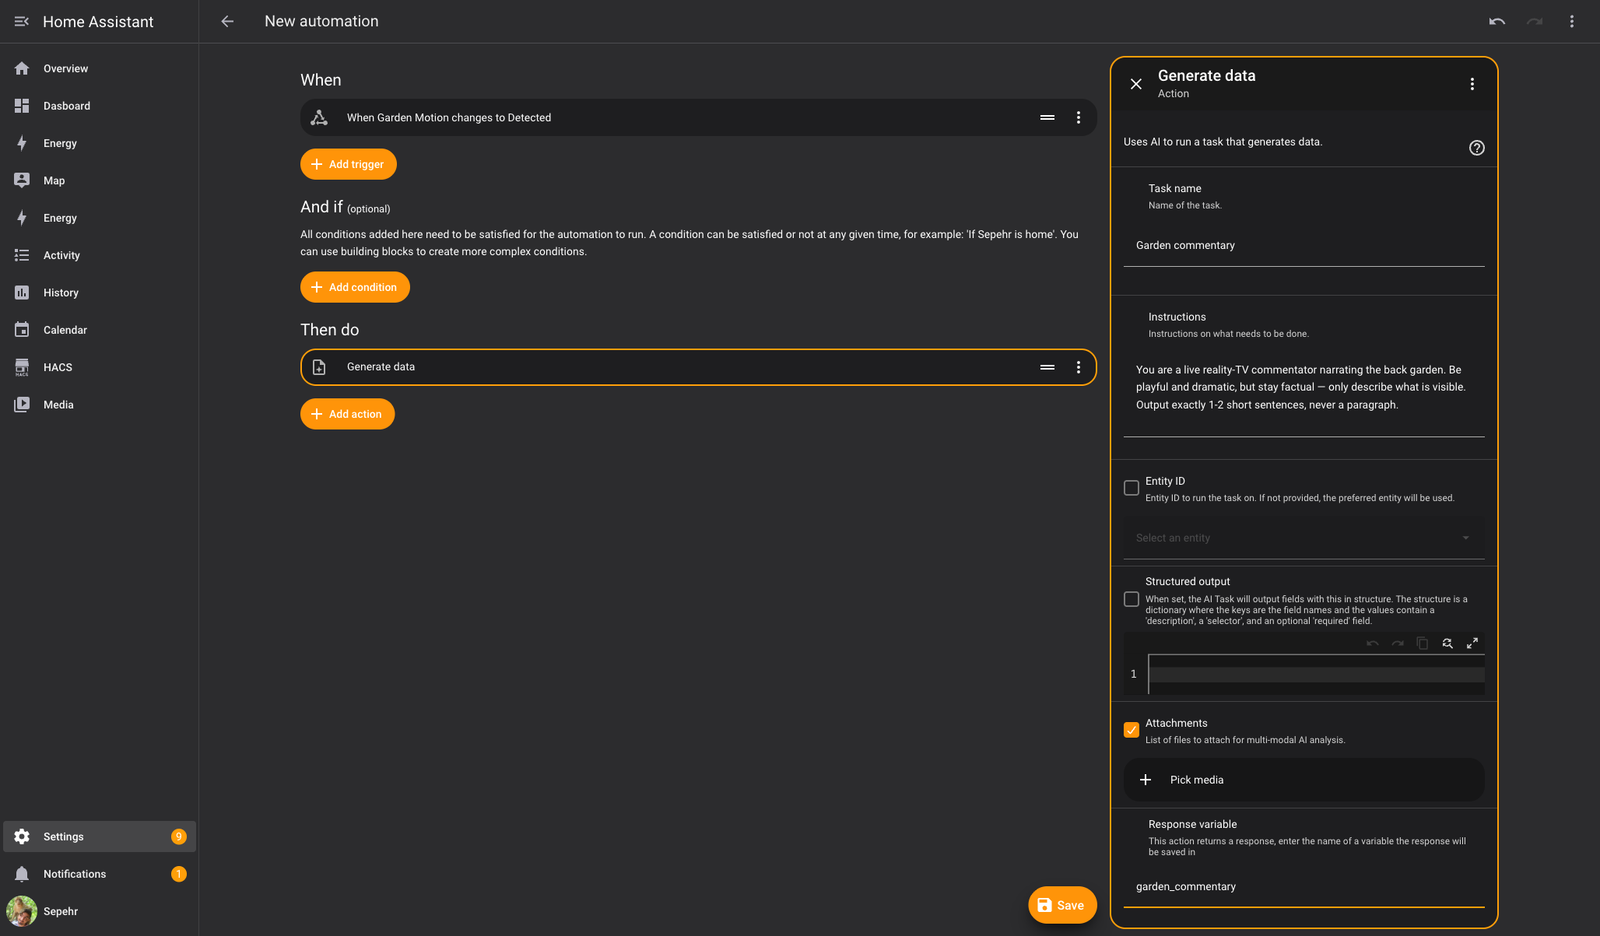
Two details in that YAML matter more than they look: mode: single stops a second trigger from queuing up while the first is still running the AI call, and the 3-second delay gives the snapshot file time to finish writing before ai_task.generate_data tries to read it. Both are cheap insurance against the two failure modes covered next. Once you've saved the automation, trigger your sensor manually (walk past the camera, or fire the automation from Developer Tools > Actions) and check the notification lands with a sensible line of text before you consider it done.
What goes wrong when people build this?
The two issues that come up repeatedly in the Home Assistant community are cost/spam and timing. Without a cooldown, a busy street or a windy day full of leaf-triggered motion events will fire the automation constantly, and each firing is a paid API call to your AI provider — set the automation's mode to single with roughly a 30–40 second cooldown so repeated triggers within that window are ignored rather than queued. The second issue is snapshot timing: if the AI analysis step runs before all the snapshots have finished saving, you can end up analysing an empty or stale frame. Adding a short delay — around 30 seconds is what's worked for people troubleshooting this on the Home Assistant forums — between the last snapshot and the AI Task call gives the file writes time to complete.
Do I need a specific camera brand for this to work?
No — any camera integrated into Home Assistant that exposes the standard camera.snapshot service will work, which covers most Reolink, Tapo, UniFi Protect, and Ring cameras once they're set up as an entity. If you're choosing a camera for the first time, our guide to the best smart doorbells in the UK covers which models integrate cleanly with Home Assistant. The AI Task integration operates on the image file itself, not on any brand-specific API, so it doesn't matter whether the snapshot came from a £30 budget camera or a premium security system. What matters more is snapshot quality and camera positioning — a camera angled too high or too far from the door will give the AI model less to work with, producing vaguer commentary regardless of how good the model is.
Start simple, then add the extras
Get push notifications working first, with the AI Task prompt returning short, reliable output, before adding a TTS speaker into the chain — speaking the result out loud is a nice extra, but it adds another point of failure while you're still tuning the cooldown and prompt. Once the notification version is solid and not spamming you, wiring in a speaker is a small addition on top rather than something to debug at the same time as everything else.