What is Home Assistant?
Home Assistant is free, open-source software that turns a small computer into a smart home hub. Unlike cloud-based platforms such as Amazon Alexa or Google Home, it processes everything locally — your automations keep running even if your broadband goes down, and your device data never leaves the house. The project is owned by the Open Home Foundation, a non-profit that cannot sell or hand control of it to a commercial operator.
The current release is Home Assistant OS 18.0 (June 2026), which includes a built-in Zigbee and Thread coordinator option, a local voice assistant called Assist, and support for over 3,000 devices and services — from Hive heating and Philips Hue lighting to British Gas Hive, Octopus Energy, and Nest.
What hardware do you need before you start?
Home Assistant runs on several types of hardware. Here are the main options available in the UK in 2026.
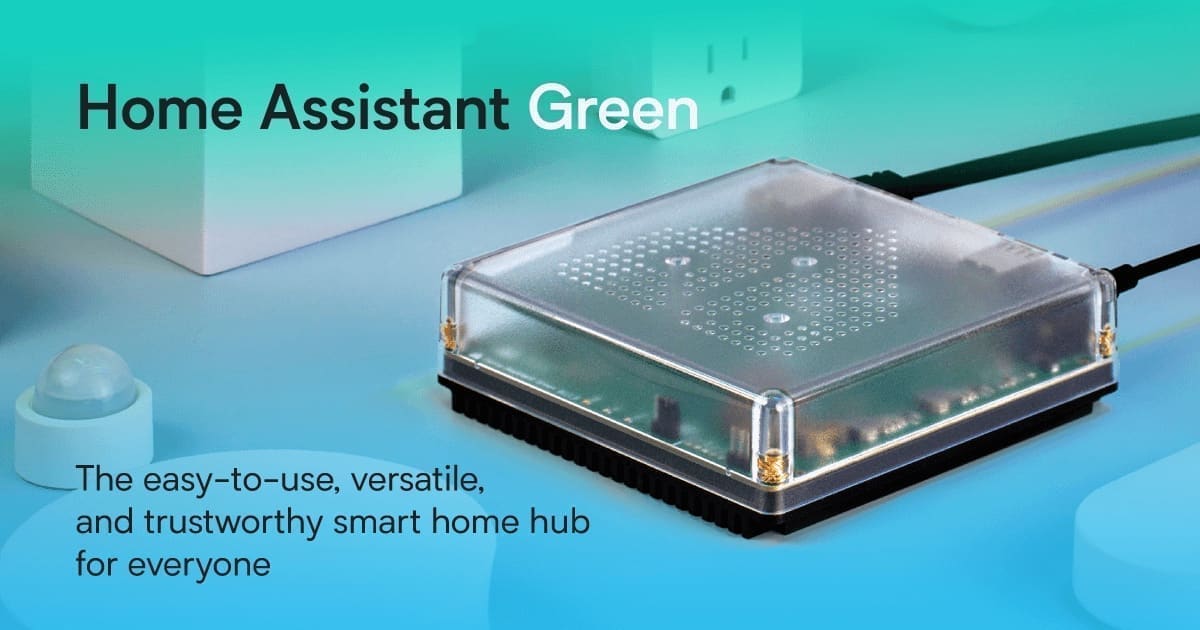
Home Assistant Green (recommended for most people)
Best for: plug-and-play simplicity. The Home Assistant Green is the official dedicated hub. It comes pre-flashed with Home Assistant OS so there's nothing to install — plug it into your router, power it on, and the setup wizard appears in your browser within minutes. The hardware is a Rockchip RK3566 quad-core processor with 4 GB of RAM and 32 GB of built-in storage. UK retail price is around £140–£159 from Everything Smart and The Pi Hut. For most households starting out with Home Assistant, this is the right choice.
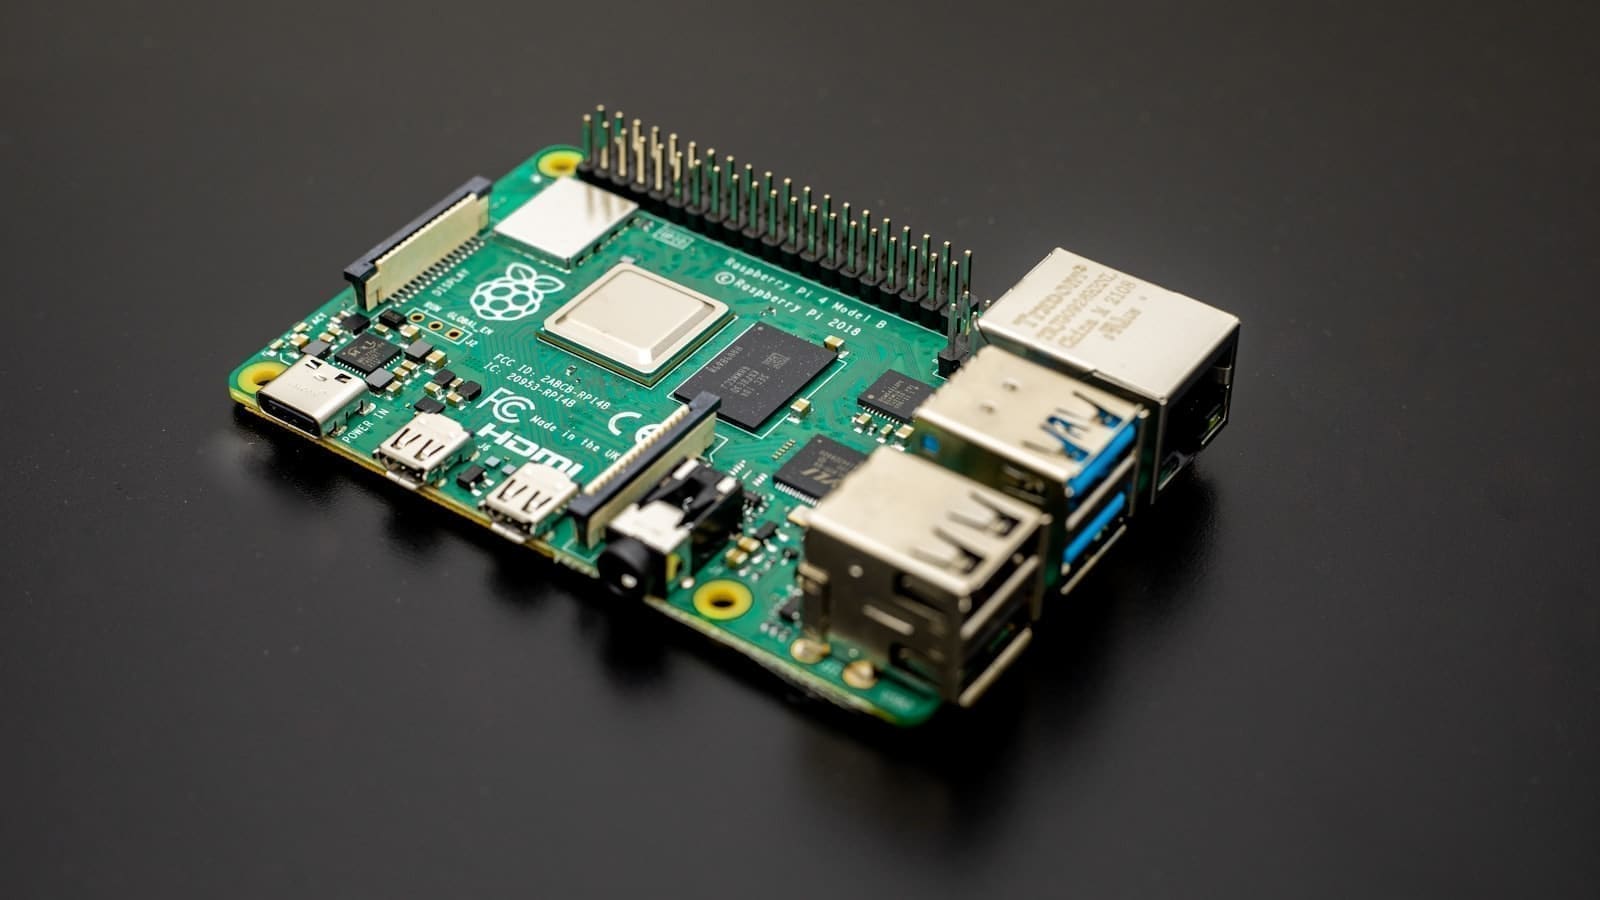
Raspberry Pi 4 or Pi 5
Best for: tinkerers who want flexibility. Home Assistant OS runs well on a Raspberry Pi 4 or Pi 5 with at least 2 GB of RAM; 4 GB or more is recommended for a comfortable experience. A Raspberry Pi 5 (4 GB) costs around £105.60 incl. VAT from The Pi Hut; the 8 GB model is around £168. You will also need a 32 GB A2-class microSD card (budget £8–15 extra) and a suitable power supply. Pi prices have increased over recent years — check current availability before buying.
An old PC, laptop, or Intel NUC
Best for: repurposing existing hardware. Any 64-bit Intel or AMD machine that supports UEFI boot can run Home Assistant OS. Old NUCs appear regularly on eBay UK and make excellent Home Assistant servers. This route gives you the most storage and processing headroom, though the machine will be dedicated to running HA.
Do you need a Zigbee USB stick?
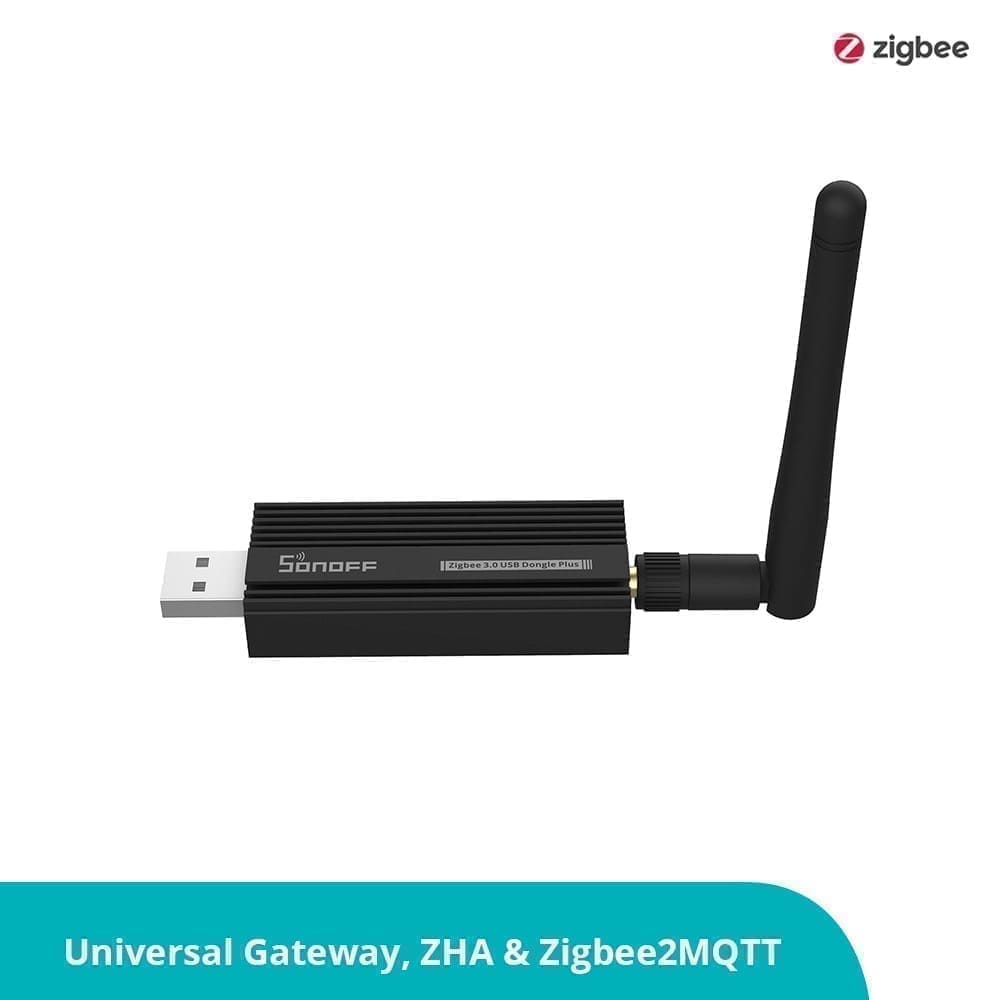
Most UK smart home devices — bulbs, door sensors, plug sockets, motion detectors — use the Zigbee protocol. To control them from Home Assistant, you need a USB Zigbee coordinator. The officially recommended option is the Home Assistant Connect ZBT-2, available from Pimoroni for around £31.67. It supports both Zigbee 3.0 and Thread/Matter, making it future-proof. A solid budget choice is the Sonoff ZBDongle-E (around £20–25 on Amazon UK), which is fully supported via Home Assistant's ZHA integration.
Note that the earlier Home Assistant SkyConnect (ZBT-1) has been discontinued, though existing units continue to work fine. See our guide to choosing the best Zigbee stick for Home Assistant in the UK for a full comparison of supported adapters.
Installation differs slightly depending on your hardware. If you bought a Home Assistant Green, skip this section — it comes pre-installed.
Step 1: Install Home Assistant OS on a Raspberry Pi
- Visit
home-assistant.io/installation/raspberrypiand download the correct HAOS image for your Pi model. - Flash the image to a 32 GB microSD card using the Raspberry Pi Imager (available for Windows, macOS, and Linux).
- Insert the card, connect an Ethernet cable (strongly recommended over Wi-Fi for reliability), and power on.
- After approximately one minute, open a browser on any device on the same local network and navigate to:
http://homeassistant.local:8123Step 2: Install Home Assistant OS on a generic PC or NUC
- Download the generic x86-64 HAOS image from
home-assistant.io/installation/generic-x86-64. Your machine must support UEFI boot. - Flash the image to a USB drive using Balena Etcher or Rufus.
- Boot the machine from the USB drive; HAOS installs itself automatically to the internal drive and reboots.
- Connect from any device on your network:
http://homeassistant.local:8123How do you complete the Home Assistant onboarding wizard?
When you first load the HA interface, it downloads the latest version of Home Assistant Core — around 700 MB. Allow 10–15 minutes on a typical UK broadband connection before the wizard appears. On slower connections, it can take up to 30 minutes.
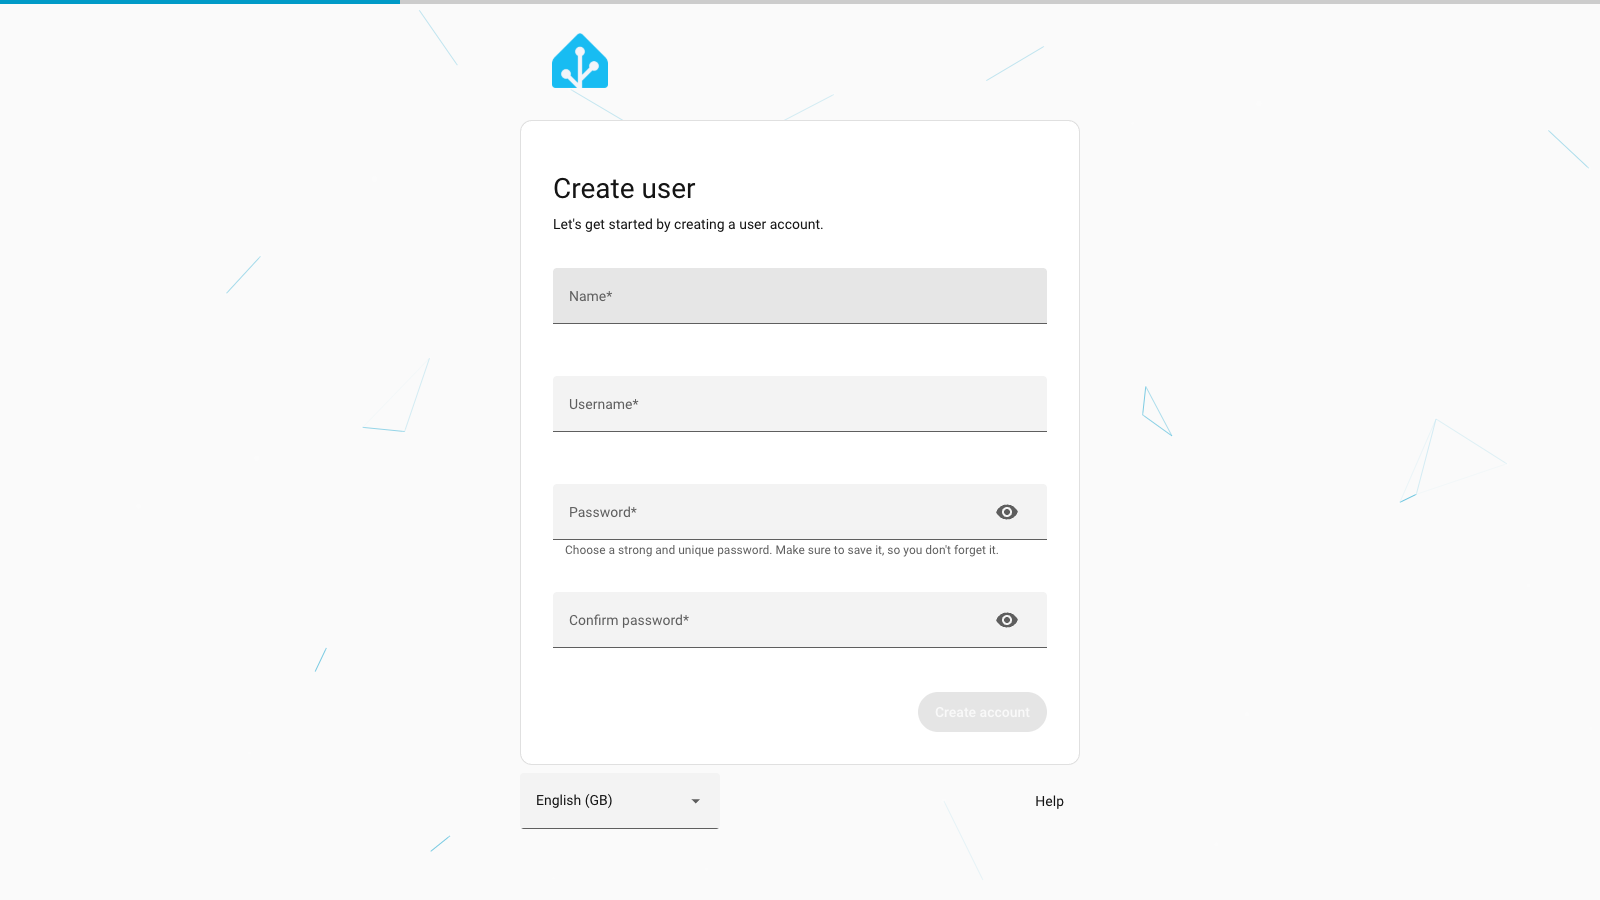
Step 3: Create your admin account
Create your admin account. Enter your name, choose a username, and set a strong password. This is the admin account with full access; you can add other household members with restricted access later from Settings.
Step 4: Set your home location
Set your home location. HA uses your location for sun-based automations, weather integrations, and time zone detection. Drag the map pin to your approximate location — you do not need to enter a precise address.
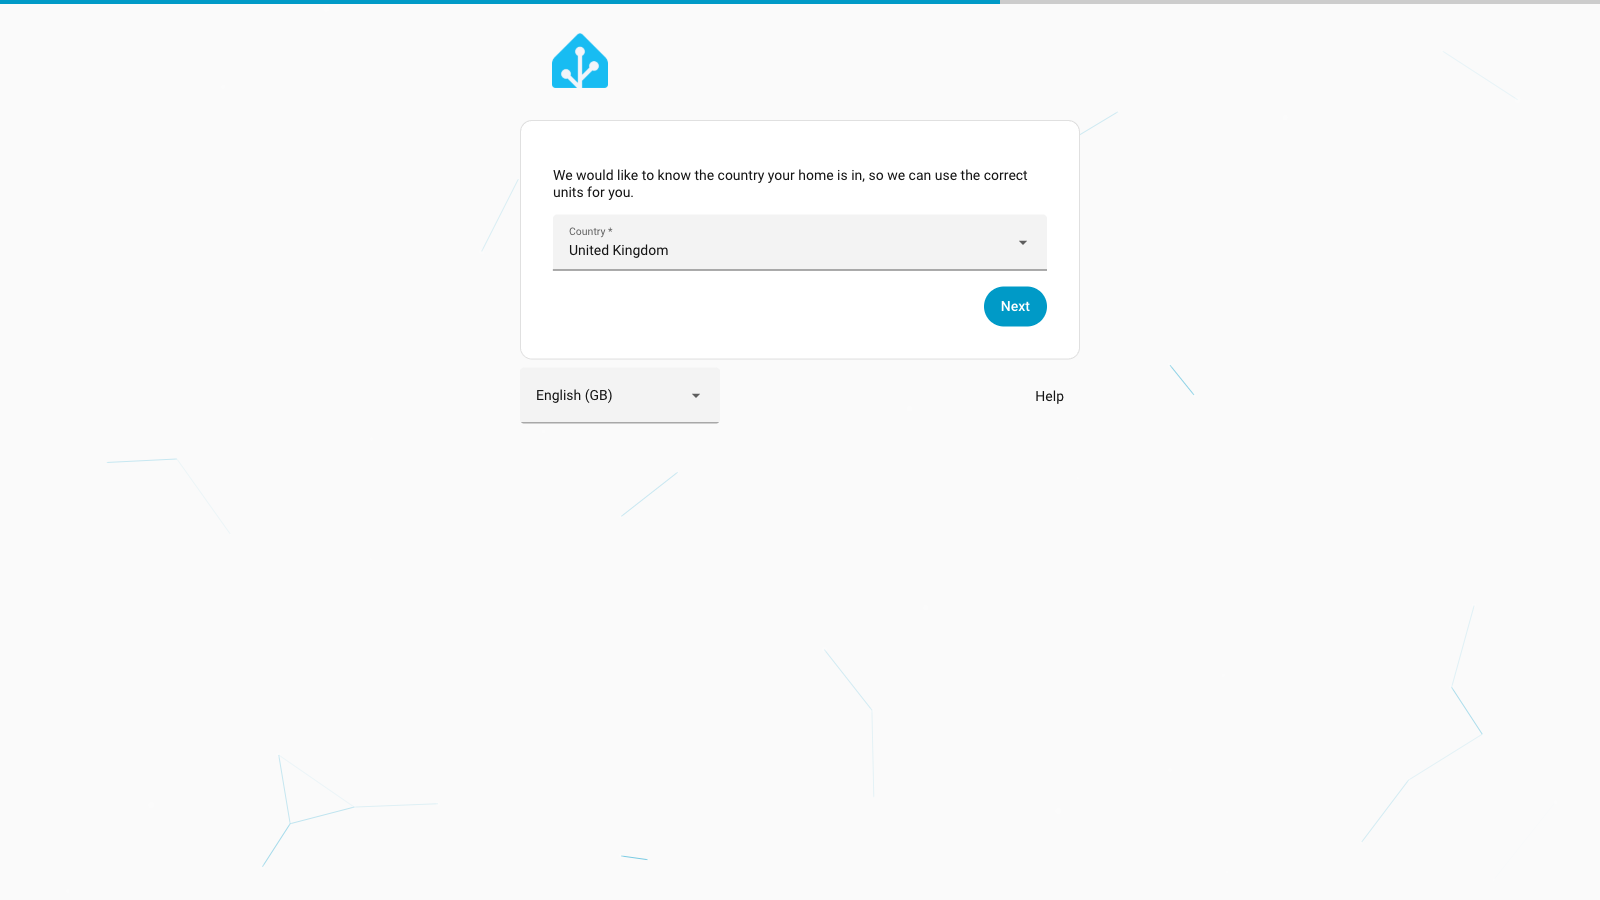
Step 5: Confirm your country
Confirm your country. Home Assistant should detect United Kingdom automatically based on your location. Confirm this so HA uses the correct units of measurement and currency symbol throughout the interface.
Step 6: Choose analytics preferences
Choose analytics preferences. HA asks whether to share anonymised usage data with the development team. All four toggles are off by default — leave them as they are if you prefer maximum privacy. The platform works identically either way.
Step 7: Finish and reach the dashboard
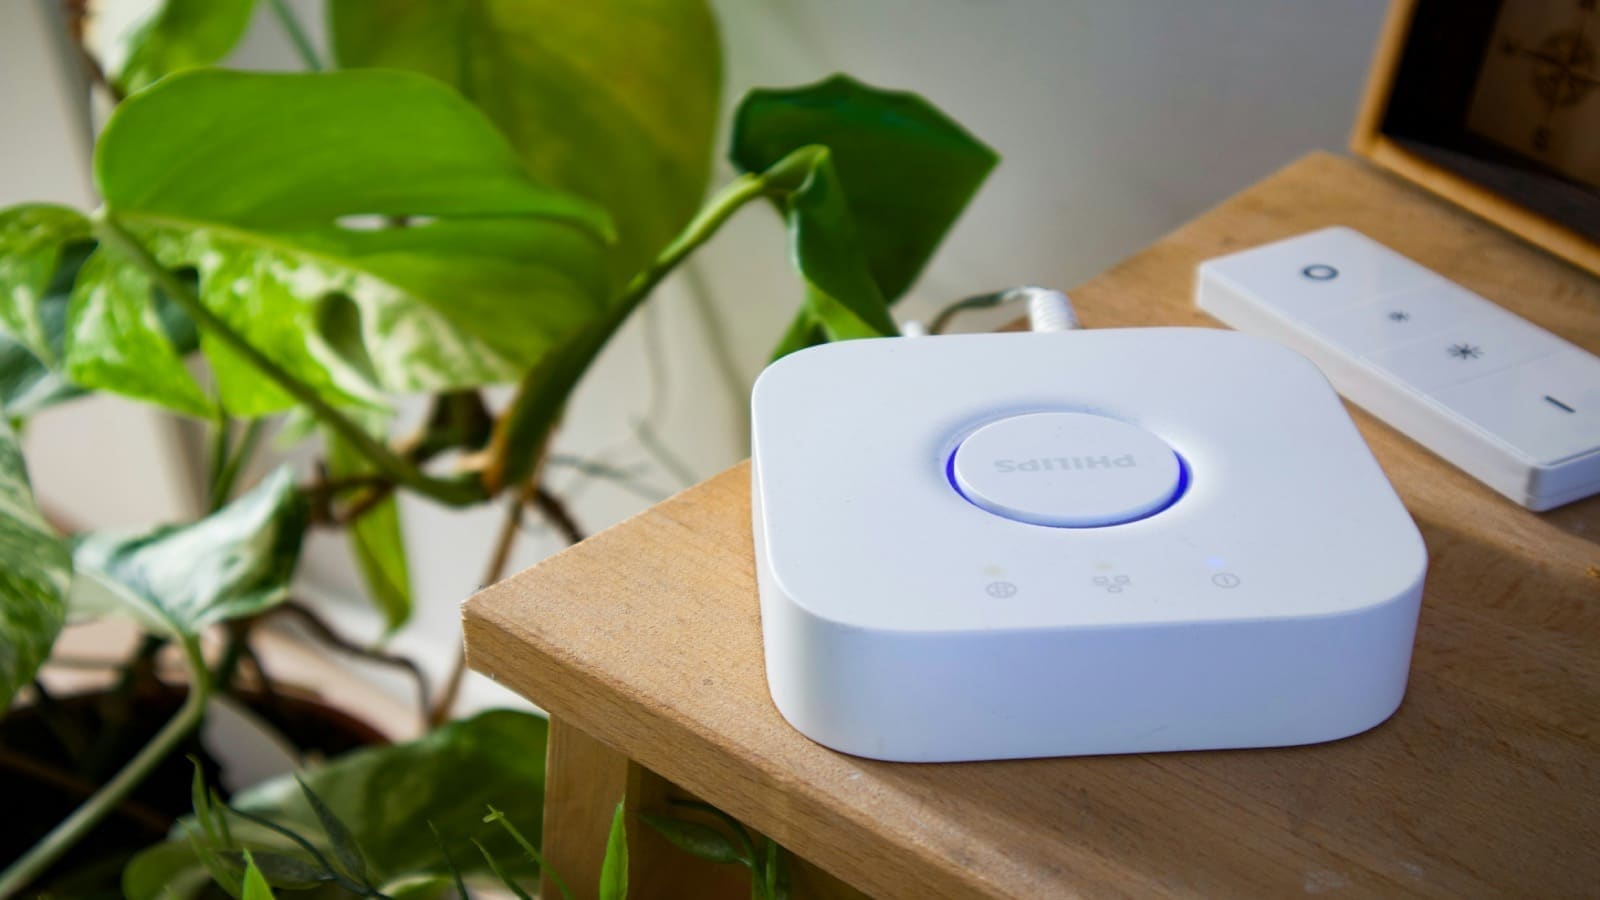
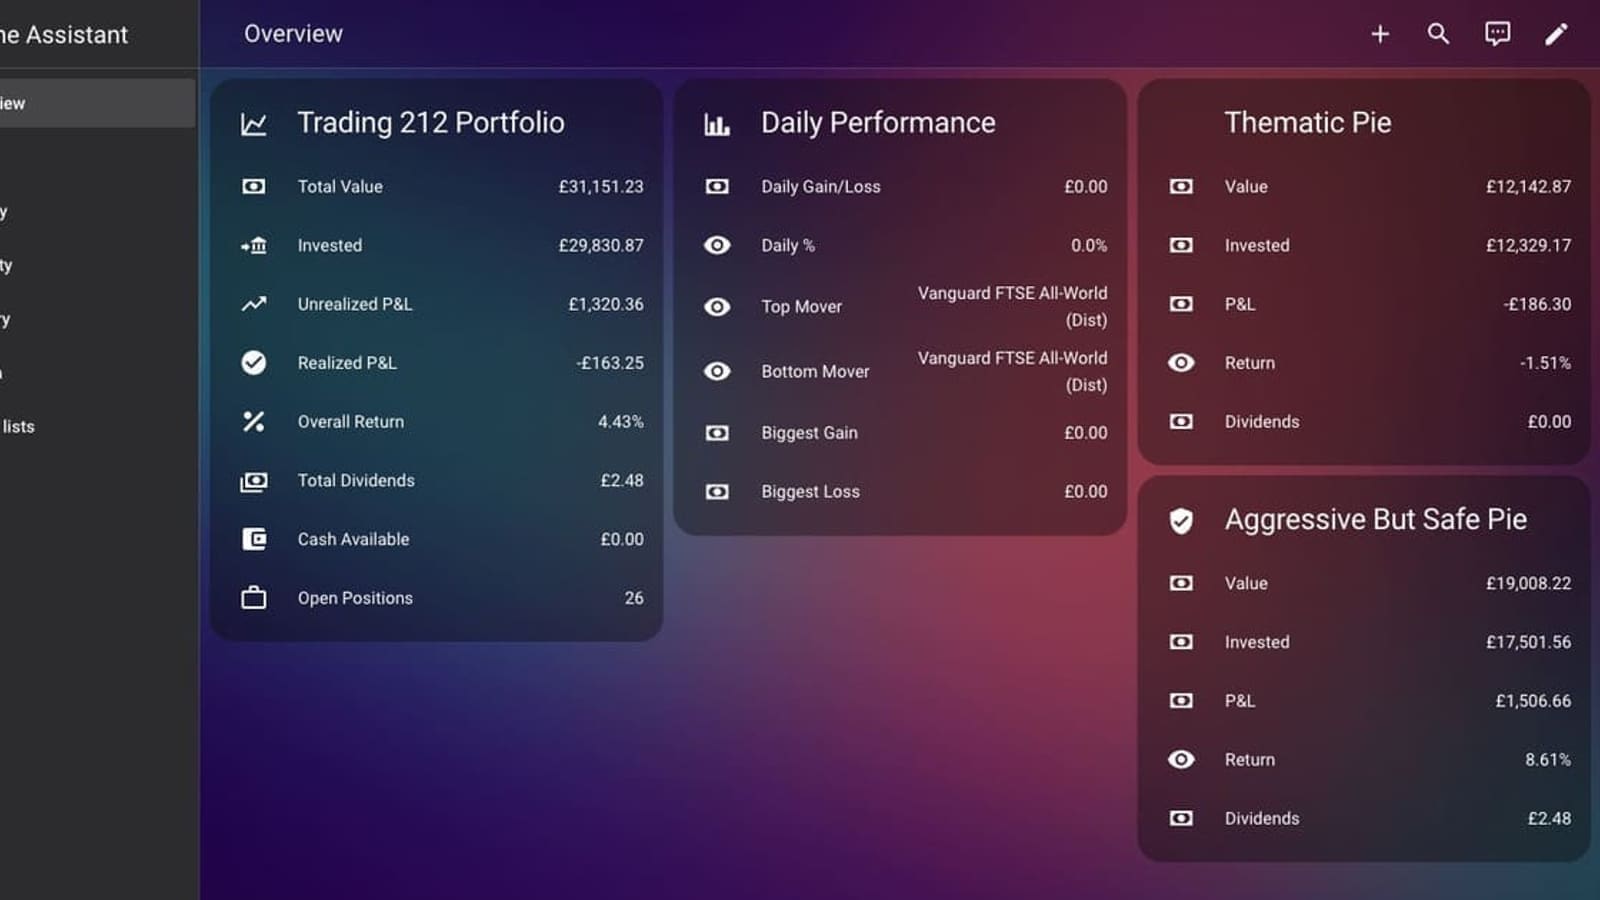
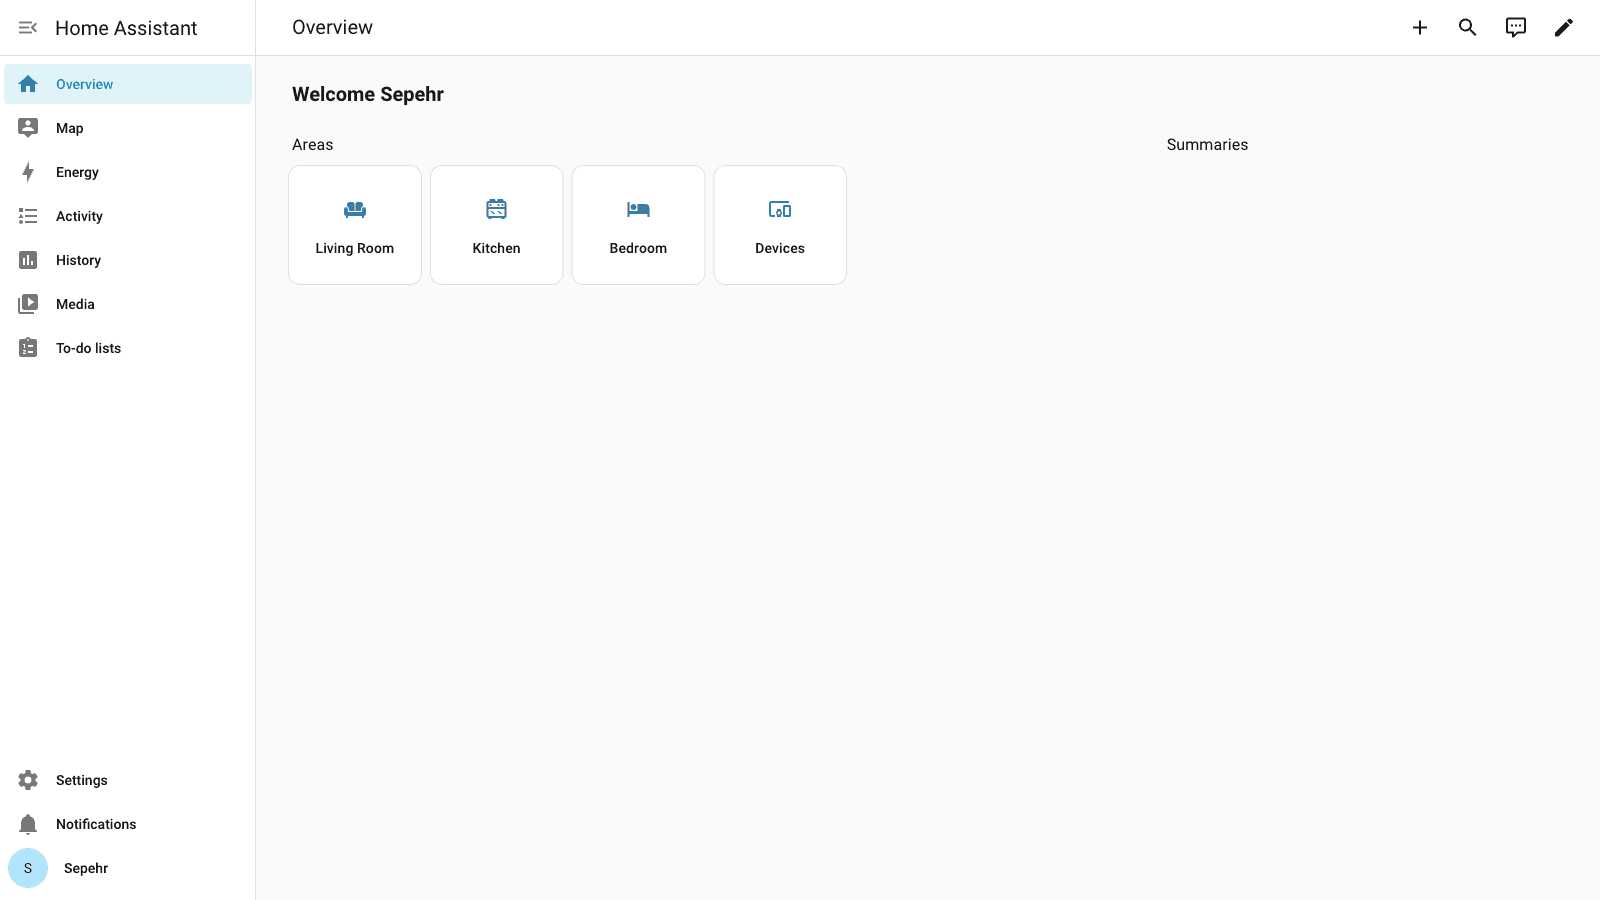
Finish and reach the dashboard. Click Finish and you land on the Overview dashboard. Home Assistant automatically scans your local network for known devices — you may see a Philips Hue bridge, Sonos speakers, or smart TVs already listed under Discovered devices in the notification bar.
What should you do next after setting up Home Assistant?
With Home Assistant running, the most impactful next step for most UK households is adding Zigbee support so you can control lights, sensors, and plug sockets. Plug in your ZBT-2 or Sonoff dongle, navigate to Settings → Devices & Services → Add Integration, and search for Zigbee Home Automation (ZHA). HA will detect the stick and walk you through pairing your first device.
If smart heating is a priority, Home Assistant integrates directly with Tado, Hive, Nest, and most UK-compatible thermostats. Once your devices are connected, you may also want to track how much electricity each one uses — our Home Assistant energy monitoring UK guide covers smart plugs, clamp meters, and SMETS2 smart meter integration. Our guide to the best smart thermostats for UK homes covers which models work best with Home Assistant and which support local control. If you also want to secure your front door, see our roundup of the best smart doorbells for UK homes and our guide to the best smart locks for UK homes — both the Nuki Smart Lock Pro and Ultion Nuki Plus integrate with Home Assistant via Matter — several, including the Eufy S330, offer a local API that works directly with Home Assistant. If you're after a robot vacuum next, our Dreame vs Roborock comparison covers which one actually gives Home Assistant genuine local control, or browse our robot vacuum finder to compare every model's integration quality side by side. If you spotted Sonos speakers in your device discovery list, our guide to the best multiroom speakers for UK homes explains which systems integrate most smoothly with Home Assistant. For reliable whole-home Wi-Fi coverage — essential when placing Home Assistant devices in every room — see our guide to the best mesh Wi-Fi systems for UK homes. If a single standalone router suits your home better, our picks for the best router for a smart home in the UK cover the top Wi-Fi 6 options for IoT-heavy households. Once your devices are added, the next step is putting them to work: our Home Assistant automations guide explains triggers, conditions, and actions with practical UK examples including Octopus Agile scheduling. If you want to control your home by voice without Alexa or Google, our Home Assistant voice assistant UK guide walks through installing Whisper, Piper, and the Voice Preview Edition puck for a fully local voice setup.
For a deeper look at network architecture — including VLAN segmentation, static IP assignment, and remote access via Nabu Casa — see our dedicated Home Assistant network setup guide. Once your installation is stable, you may want to bring in Matter-certified devices from any ecosystem — our Home Assistant Matter setup guide covers everything from Thread Border Routers to commissioning your first device. If you want to have some fun with your setup, see our guide on turning your doorbell camera into an AI commentator.