What do you need before you start?
- An Agile Octopus tariff (or another half-hourly tariff) and a working smart meter. Octopus says Agile needs a SMETS2 meter, or some SMETS1 meters, and connection usually takes about 14 days. Our Octopus smart tariffs comparison covers whether Agile suits you, and the smart meter guide explains the meter side.
- Your Octopus API key and account number, both found in your online Octopus account (the key sits under the API access section of your personal details). Treat the key like a password: generating a new one invalidates the old one.
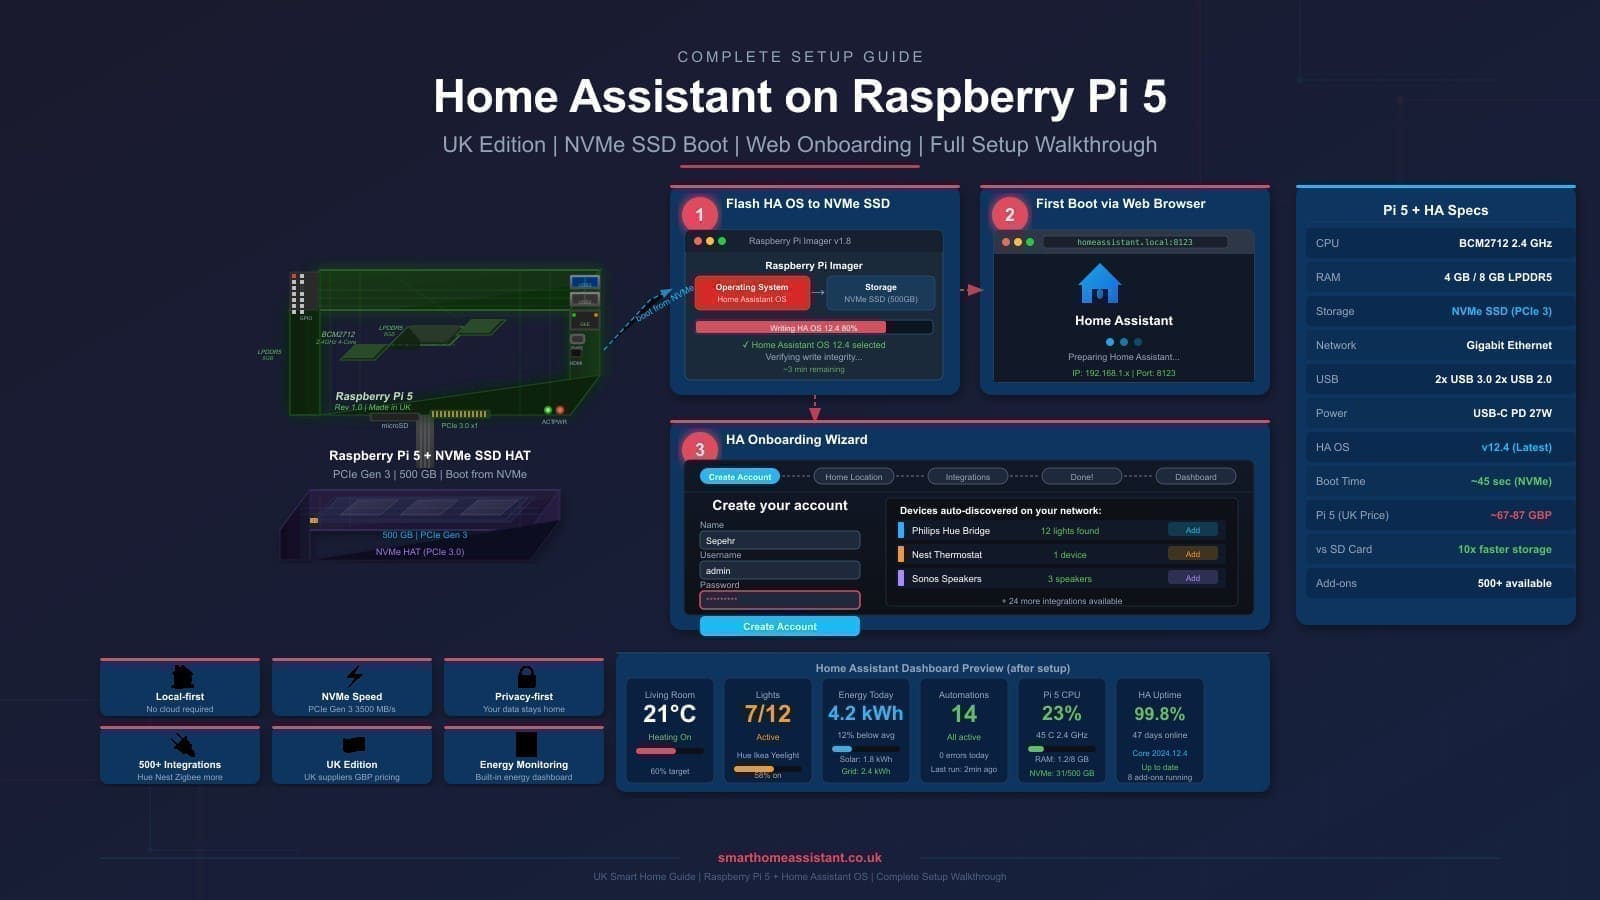
- Home Assistant with HACS. Both integrations install through HACS. Beta coverage of Home Assistant 2026.11, due on 4 November, says HACS becomes a built-in Marketplace under Settings; see our HACS Marketplace explainer for what changes, because the menu path differs between versions.
- A controllable load. A smart plug, EV charger, heat pump input or immersion relay that Home Assistant can switch.
How does Agile pricing work for automations?
Agile rates follow wholesale electricity prices and change every half-hour. Octopus publishes the next day's rates in the late afternoon: its page says unit rates update for the next 24 hours between 4pm and 8pm, usually nearer 4pm. That timing matters, because an automation can only pick the cheapest slots once the prices exist.
Prices can also go negative when supply outstrips demand, which Octopus calls Plunge Pricing, and Price Cap Protect limits spikes to 100p/kWh. Those two facts are why scheduling flexible loads against the rate curve pays off: the gap between the cheapest and dearest half-hours is the saving you are chasing.
Step 1: Install the Octopus Energy integration
Open HACS, search for Octopus Energy by BottlecapDave (it is a HACS default, so no custom repository is needed), download it and restart Home Assistant. The integration is a custom component rather than an official core one, so updates arrive through HACS and not the normal Home Assistant release cycle.
Step 2: Add your Octopus account
Go to Settings, Devices & services, Add integration, choose Octopus Energy and enter your API key and account number. The setup form also lets you set pricing caps, a gas calorific value (default 40), a direct debit rate preference and, if you own one, an Octopus Home Mini.
Once it loads, each electricity meter gets rate entities. The ones you will use are sensor.octopus_energy_electricity_{serial}_{mpan}_current_rate, the matching next_rate sensor, and event entities for the current-day and next-day rates. Write down your meter's MPAN and serial number from the entity names, because you need them in Step 4.
One limit to know about: Octopus's APIs allow 100 calls per hour, shared across everything including the Octopus app. The integration's defaults suit one electricity and one gas meter, so only raise the refresh interval if you run several meters or other Octopus tools.
Step 3: Install Target Timeframes
Back in HACS, download Target Timeframes, also by BottlecapDave, and restart again. It is a separate integration that finds the best periods in any list of time-stamped values, whether that is electricity price, carbon intensity or forecast solar generation. Because it does not care where the numbers come from, it replaced the target rate sensors that used to live inside the Octopus integration.
Step 4: Create a data source for your meter
Add the Target Timeframes integration from Devices & services and create a data source. The name is for your reference; the ID is what matters. If you only want Octopus rates, the migration guide recommends the format octopus_energy_<MPAN>_<serial> using the values from Step 2, and rate data then flows in automatically. Check the Data Source Last Updated sensor to confirm it is populating.
If you want to mix Octopus rates with other data, such as carbon intensity or free-electricity sessions, pick your own ID such as octopus_energy_import and install one of the published blueprints (Octopus Energy default, Octopus with free electricity sessions, Octopus plus Carbon Intensity, or weather). The blueprint automation copies rates into the data source whenever the Octopus entities update. Run it once by hand so data appears straight away.
Step 5: Add a target timeframe sensor
From the data source's menu choose Target timeframe. This creates a binary sensor named binary_sensor.target_timeframes_{data source id}_{name} that turns on during the cheapest periods in a 24-hour window. The settings that matter most:
- Hours: how much running time you need, in 0.5 steps. A dishwasher cycle might be 2, an overnight car top-up 4.
- Minimum and maximum time: the window to search. It defaults to 00:00 to 00:00, and if the start is later than the end, the end is treated as the next day, so 20:00 to 05:00 searches overnight.
- Hours mode: Exact only comes on for the lowest slots up to your hours and stays off if too few exist; Minimum comes on for every qualifying slot; Maximum comes on for whatever it finds if fewer than your hours exist.
- Offset: shifts the on-time before or after the cheap period, for example -00:30:00 to start charging a robot vacuum half an hour early.
- Find last applicable values: picks the latest cheap slot, which suits an immersion heater you want hot as late as possible.
| Use case | Hours | Window | Notes |
|---|---|---|---|
| Dishwasher or washing machine | 2 to 3 | 20:00 to 07:00 | Continuous slots; see the appliance caveat below |
| EV top-up | 3 to 5 | 23:00 to 07:00 | Check your charger can be paused and resumed |
| Immersion heater | 1 to 2 | 00:00 to 00:00 | Enable the latest-period option |
| Battery grid charge | 2 to 4 | 00:00 to 00:00 | Use Maximum mode so it still runs on dear days |
One trap: a sensor will not calculate until every value in its window exists. A 00:00 to 00:00 window therefore waits for the full next-day price list, which arrives in the late afternoon. Narrow the window if you want a decision earlier.
Step 6: Switch a device from the sensor
With the sensor in place, the automation is a single trigger. This example runs a smart plug when the sensor turns on, but only if you have flagged the dishwasher as loaded:
alias: Dishwasher on cheapest Agile slot
triggers:
  - trigger: state
    entity_id: binary_sensor.target_timeframes_octopus_energy_import_dishwasher
    to: "on"
conditions:
  - condition: state
    entity_id: input_boolean.dishwasher_loaded
    state: "on"
actions:
  - action: switch.turn_on
    target:
      entity_id: switch.dishwasher_plug
  - action: input_boolean.turn_off
    target:
      entity_id: input_boolean.dishwasher_loaded
Add a second automation that turns the plug off when the sensor changes to off, or use a plug with an auto-off timer. The input_boolean is a helper you create once; toggle it from your dashboard when you load the machine so the plug is not powered pointlessly every night.
Appliance caveat: cutting mains power only works if the appliance starts a programme when power returns, and many do not. Never cut power mid-cycle on a washing machine or dishwasher full of water. Our smart washing machine guide covers appliances with proper remote start, and our smart plug roundup covers plugs that can safely carry high loads. For cars, an EV charger that Home Assistant can start and stop is far safer than switching the supply.
Why did my old Octopus target rate sensors disappear?
They were removed on purpose. The integration's maintainer recorded a decision to deprecate target rate sensors in favour of Target Timeframes and scheduled removal about six months after the repair notice, around the end of November 2025. The reasons were that one feature was being maintained across several integrations and that other dynamic-tariff suppliers could not use it.
To migrate, create a data source and sensor as above, matching your old hours, window and options, then update automations to point at the new binary_sensor.target_timeframes_... entity. The migration guide notes the options will feel familiar, with a few differences.
Common problems and fixes
The sensor stays off all day: check the Data Source Last Updated sensor. If it is stale, run the blueprint automation by hand. In Exact mode the sensor also stays off when fewer slots than your hours exist inside the window, so widen the window or switch to Maximum.
It picks different slots after tomorrow's prices arrive: that is evaluation mode at work. The default only recalculates once existing target times have passed, while Always can shift the plan mid-run and may leave you short of your hours.
Rates look wrong or blank: confirm the tariff on your account is Agile and the integration entities show current values. If the Octopus app and Home Assistant both poll heavily you can hit the 100 calls per hour limit, so lengthen the refresh interval.
Negative prices: the sensor still treats them as the lowest values, so it will favour those slots, which is usually what you want. Make sure your appliance and tariff terms suit running during them.
What should you automate next?
Once rates and timeframes are in Home Assistant, the same sensor can drive a battery, a heat pump boost or a hot water tank. Pair it with the energy dashboard from our Home Assistant energy monitoring guide to confirm the shifted load actually landed in cheap slots, and compare results against a flat tariff before assuming Agile is saving you money.