What do you need before you start?
- Home Assistant OS: version 2026.11 or later. The local disk section of the official documentation sits on the page for Home Assistant Operating System installations, and it does not say whether Container or Core installs can use it, so treat it as an OS feature.
- A drive that is already formatted: Home Assistant does not format disks for you. The documentation lists ext4, ext3, ext2, FAT and FAT32, exFAT, NTFS, Btrfs and F2FS (F2FS needs Home Assistant OS 18.3 or later).
- A drive that is not in use: disks that are already in use, or that belong to Home Assistant itself, are not offered in the list.
- A backup you can restore from elsewhere: if your only backup lives on this one drive, you have not gained much. Keep reading the "what to do next" section.
If you are still on an older release, our Home Assistant 2026.11 update guide covers what to check before upgrading, and the release's own backward-incompatible list is worth a skim first. If you have not set up backups at all yet, start with our Home Assistant backup and restore guide, then come back here to change where they land.
Which drive should you use for Home Assistant backups?
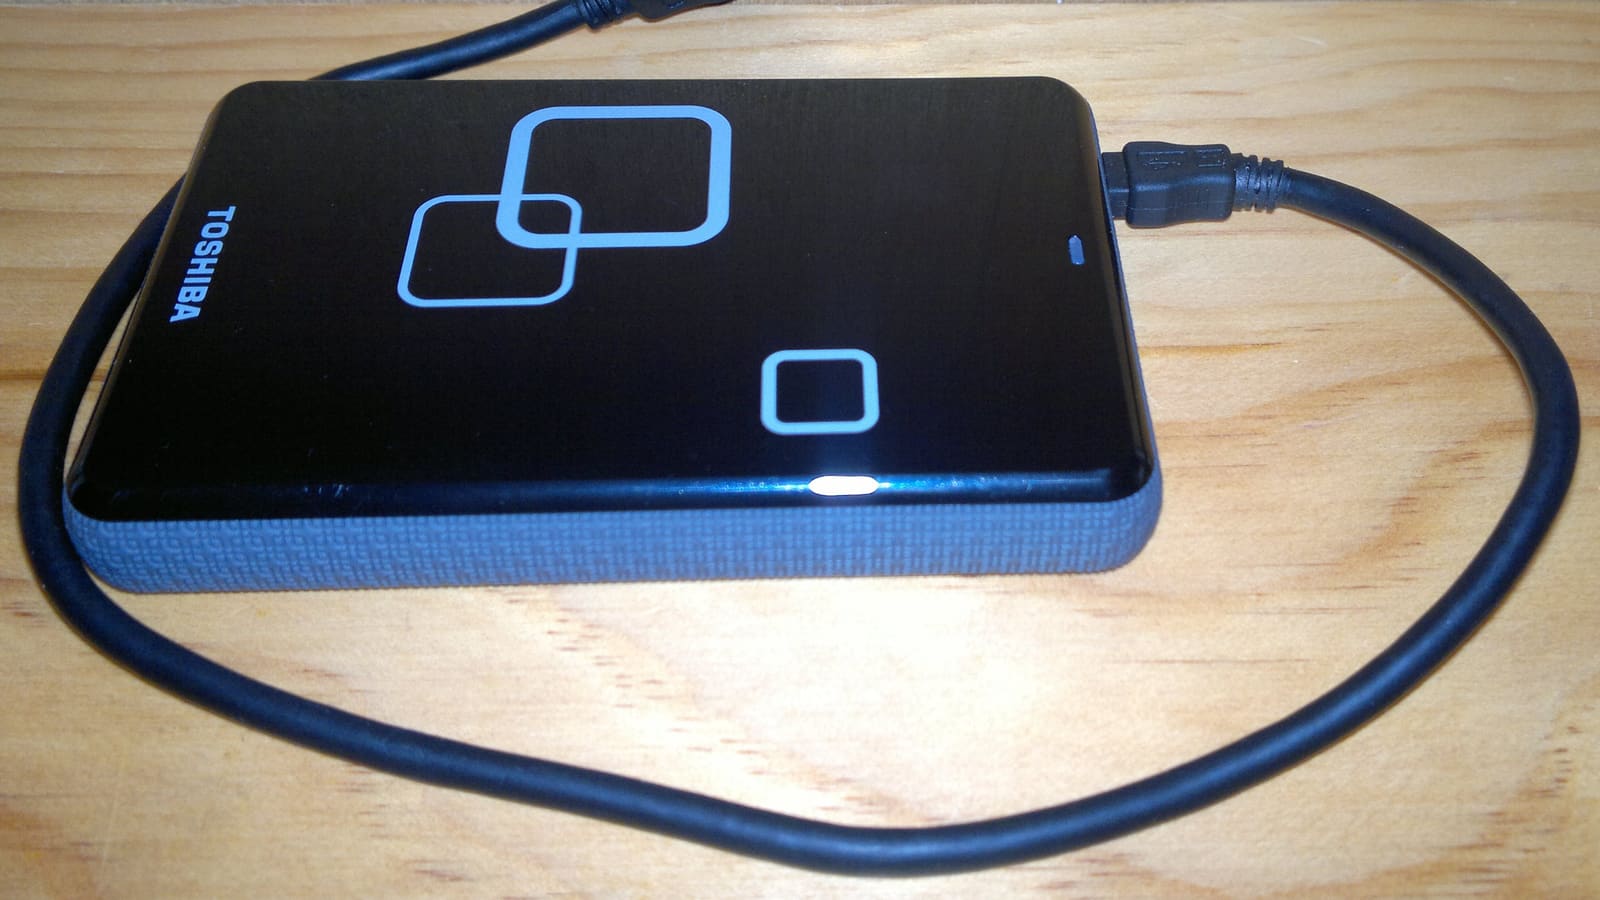
Any drive formatted with one of the supported file systems will be accepted, so the choice is about reliability and where it connects. A small, fast drive that you do not mind leaving plugged in permanently is the sensible pick.
| Option | Good for | Watch out for |
|---|---|---|
| USB flash drive | Cheap, small backups; quick to test the feature | Consumer flash drives are not designed for constant use and can fail without warning |
| External SSD | Reliable always-on storage with no moving parts | Cost per gigabyte; make sure it is formatted before you plug it in |
| External hard drive | Large capacity for backups plus media | Spinning disks can be slow to wake and can draw more power from a small device |
| Internal drive (NVMe or SATA) | Installs that already have a spare drive, such as a mini PC | It must not be the drive that Home Assistant itself runs from |
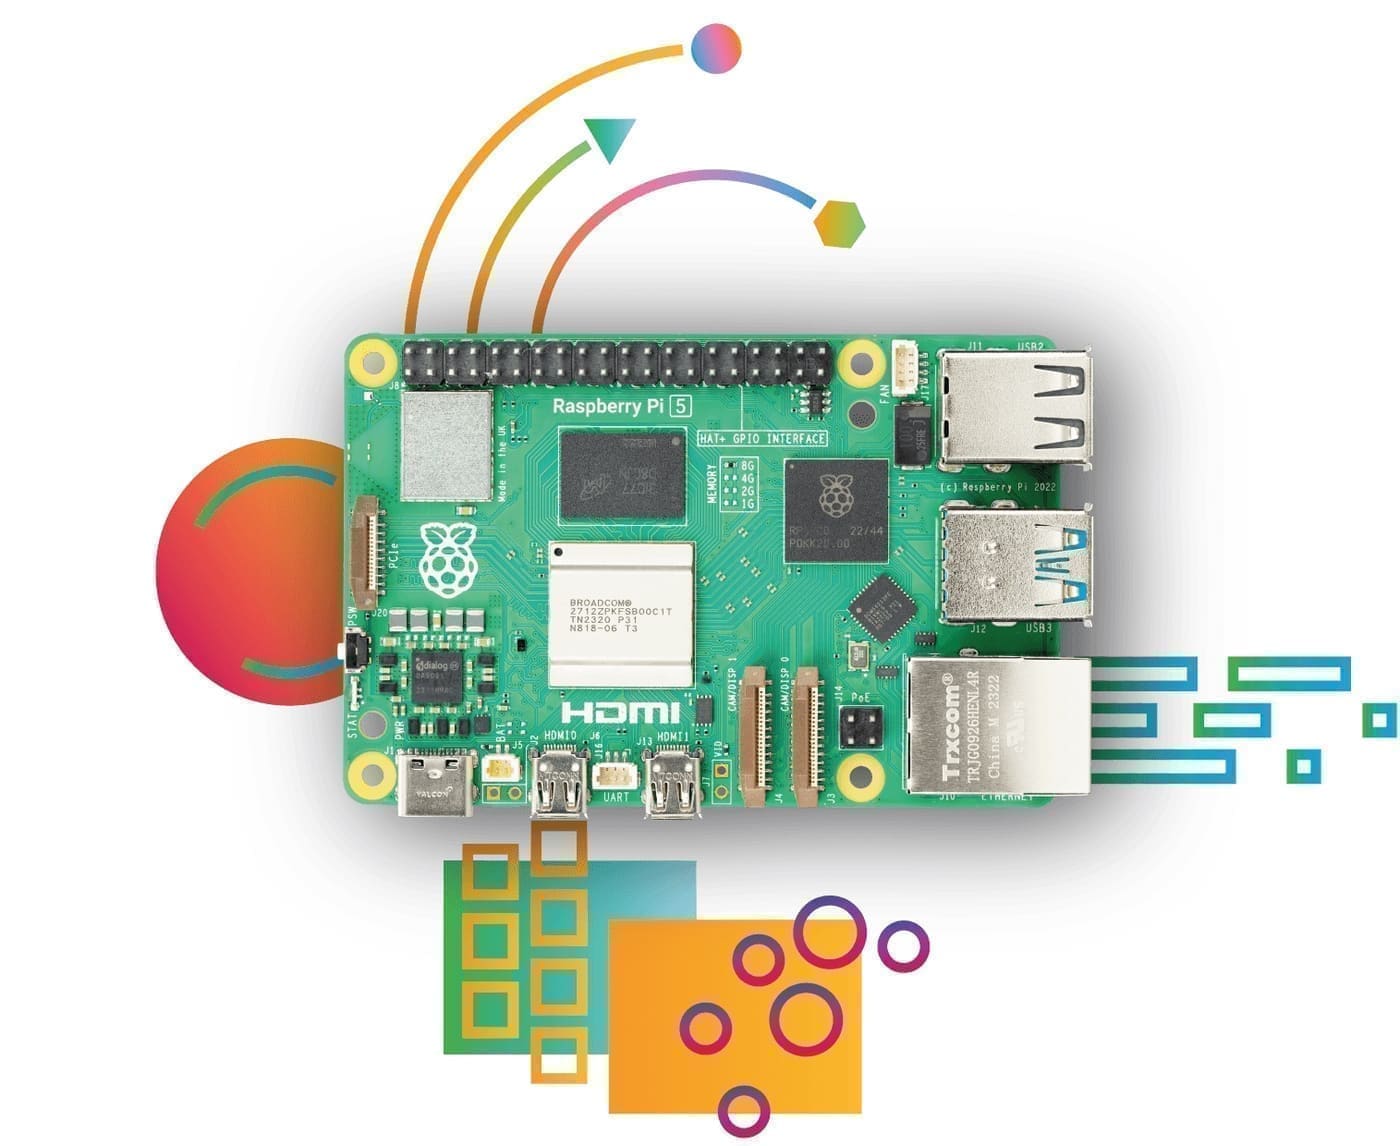
Capacity matters less than people expect. A recommended-preset backup excludes media, the share folder and local apps, so a typical system backup is small compared with a photo library. If you also plan to point media at the same disk, size it for that instead. Our Raspberry Pi 5 guide and Home Assistant Green review both cover hardware where a USB drive is the obvious way to add storage.
Step 1: Format the drive before you plug it in
Home Assistant will not format the disk, so do this on a computer first. For a drive that only ever talks to Home Assistant, ext4 is the natural choice. If you want to move the drive between a Windows or Mac machine and Home Assistant, exFAT is the more portable option from the supported list.
Give the drive a clear label while you are at it. The label is only for you, because Home Assistant tracks the disk by its file system identifier, but it helps when you open the Add storage dialog and see several disks.
Step 2: Connect the drive to your Home Assistant device
Plug the drive into a USB port on the Home Assistant device, or install it internally. Avoid hubs that share power with several devices, particularly with an external hard drive, as brown-outs on a bus-powered drive are a common cause of mysterious disconnects. Give it a minute to spin up before you move on.
Step 3: Add the drive as Local disk storage
- Go to Settings > System > Storage.
- Select Add storage.
- Set Type to Local disk.
- Fill in the fields: a Name, the Usage, the Disk, and the Read-only switch.
- Select Connect.
The Usage field decides what the disk is for: Backup, Media or Share. Choose Backup for this guide. Leave Read-only off, because the documentation states that backup storage cannot be read-only. If the drive does not appear in the Disk list, check that it is formatted, that it is not already in use, and that it is not Home Assistant's own disk.
Step 4: Make the USB drive your default backup location
The first storage you add with the Backup usage becomes the default backup location, so you may find this is already done. To check or change it:
- Go to Settings > System > Backups.
- Select Configure backup settings.
- Open the three-dot menu and choose Change default action location.
- Pick your USB drive under Default location and select Save.
Step 5: Set the schedule and retention
Still in the backup settings, pick how often backups run. The schedule is either Daily or Custom days, with a time of System optimal or Custom, and the guidance is to choose a time when all of your backup locations are available. The recommended preset backs up daily, excludes media, the share folder and local apps, and keeps the last three backups.
Under Retention you set how many backups to keep, or for how many days. Older automatic backups are then deleted. Retention does not touch manual backups, and each location can use the global settings or its own. If you back up daily and keep seven, anything older than seven days goes. Keep enough history to catch a problem you notice a week late, but not so much that the drive fills.
Step 6: Run a manual backup and check it landed
Do not wait for the schedule to find out whether it works. Create a manual backup from the Backups page and choose the USB drive as a location. The progress bar on the backup page now fills as the backup uploads, which makes it easier to see that something is actually happening. Once it finishes, the backup should appear in the list with the drive shown as a location.
The release also adds a Last successful automatic backup size sensor. That is a useful thing to put on a dashboard or behind a notification: a sudden drop in size can mean something was excluded that should not have been, and no new value for several days means the schedule has stopped running.
What happens if you unplug the drive or it fails?
Home Assistant remembers the disk by its file system identifier, not by a name such as /dev/sda1, so it keeps working after a restart or after the device name changes. If the disk is disconnected or missing at startup, a repair appears under Settings > System > Repairs. Anything that was using the disk's folder gets an error rather than quietly writing to the internal storage, which protects you from filling the system disk by accident.
After you reconnect the drive, mounting can take up to 15 minutes, or you can open the repair and select Reload. For a Btrfs disk, reboot if you reconnect before a repair has appeared. To stop using the disk altogether, open the repair and select Remove.
Common problems and fixes
The drive is missing from the Disk list. It is probably unformatted, already in use, or the system's own disk. Format it on another computer using a supported file system and plug it in again.
The "read-only" option is on and backups fail. Backup storage cannot be read-only. Remove the storage and add it again with Read-only off.
A repair says the disk is missing after a power cut. Check the cable, wait for the mount, then select Reload on the repair. Give it up to 15 minutes before assuming it is broken.
Backups still land on the system disk. Check the default location under the backup settings, as described in Step 4, and confirm the schedule's target locations include the USB drive.
Backups are slow or the drive keeps disconnecting. Try a different cable or port, and avoid an unpowered hub with a bus-powered hard drive. An SSD or a flash drive draws far less than a spinning disk.
What should you do next?
A backup on a drive plugged into the same device protects you from a corrupted SD card or a failed update, but not from a fire, a power surge, a theft or a failed USB controller. The official backup documentation recommends keeping a copy on another system outside Home Assistant, and ideally one off-site. Home Assistant Cloud can hold a backup of up to 5 GB, but it keeps only the last one, so it is a safety net rather than a history.
A good, simple setup is two locations: the USB drive for fast restores and history, plus network storage such as a NAS or cloud location for the off-device copy. If you are weighing up a NAS for that job, see our best NAS for home use in the UK. The release also stops restores from making a temporary copy of the whole backup first, which saves free space and time, especially on network storage.
Finally, remember that a backup is only useful if you can decrypt it. Store your encryption key somewhere that is not the Home Assistant device, such as a password manager.