
What do you need before you start?
- A window or door contact sensor that already appears in Home Assistant. Zigbee, Z-Wave, Thread and Bluetooth contact sensors all work. If you have not bought one yet, our best smart window sensors for the UK roundup compares the options.
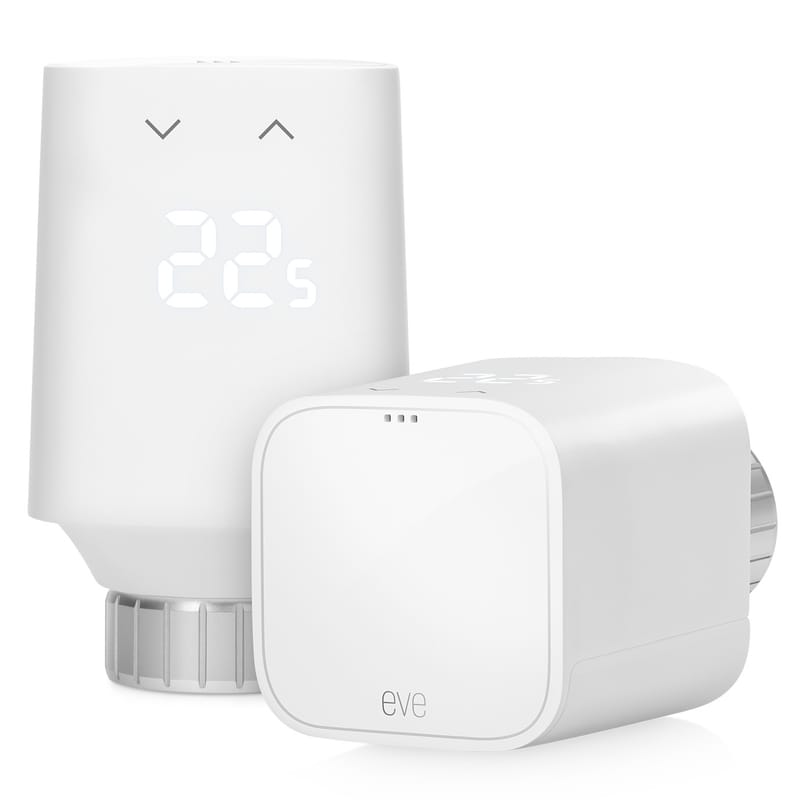
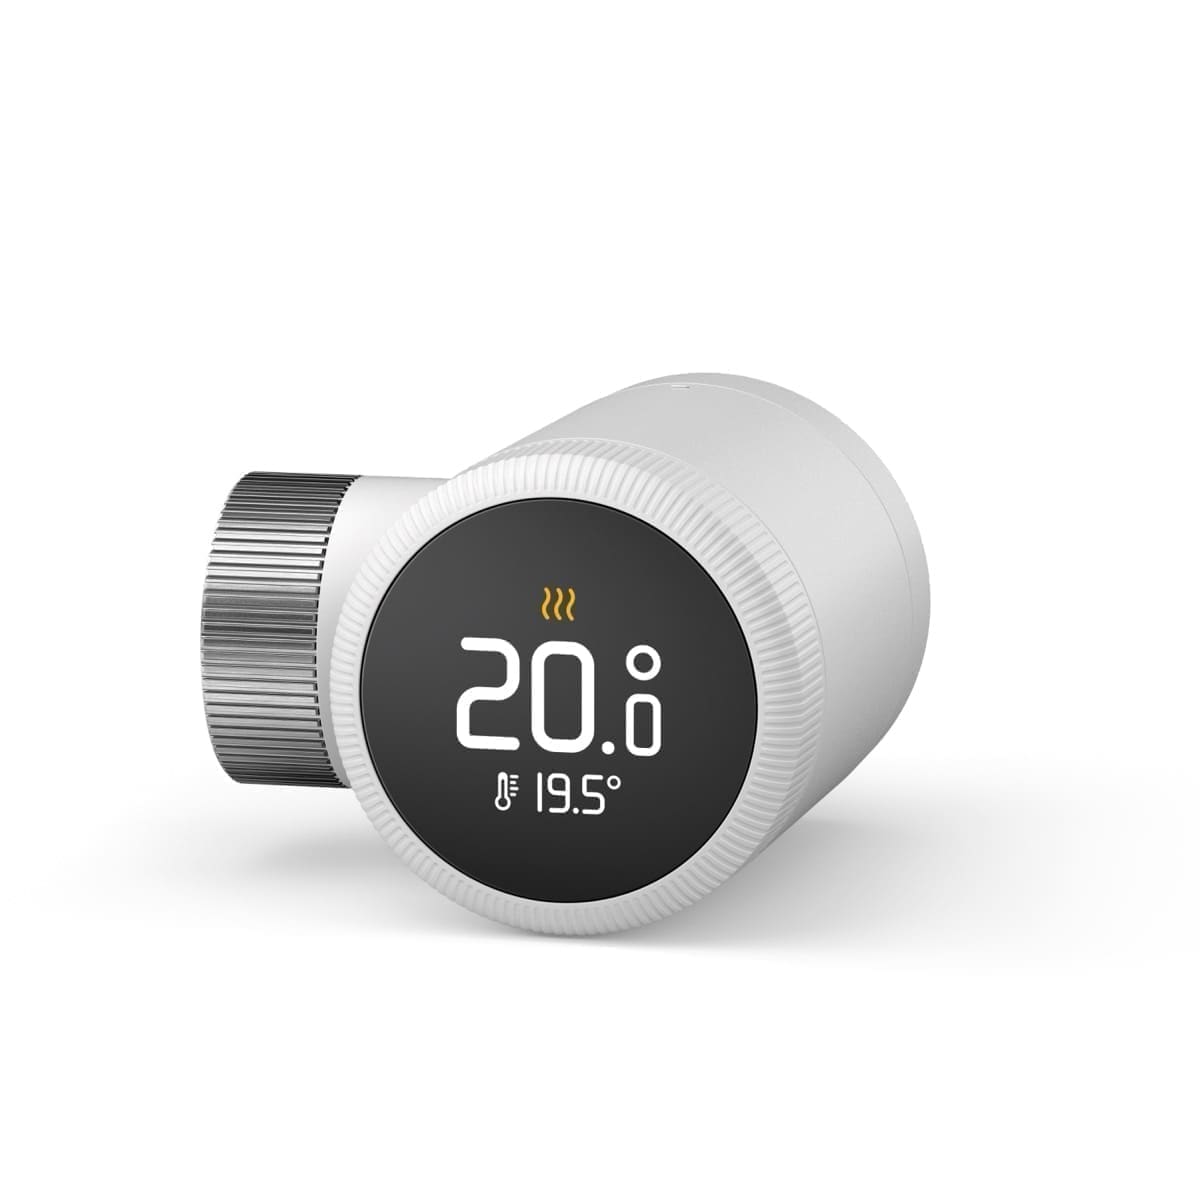
- A controllable heating entity in the same room: a
climateentity such as a smart radiator valve, a room thermostat or a zone from a system like Tado. Our radiator valve guide and heating control guide cover getting one working. - A recent Home Assistant release. The YAML below uses the current
triggers:andactions:syntax with a plainstatetrigger, so it works on any recent install. - A phone with the companion app, only if you want a "heating paused" notification. See our notifications guide.
Why turn the heating off for an open window at all?
A room with an open window keeps asking its thermostat for heat that immediately escapes outside, so the boiler or heat pump works hard for no benefit. Pausing the heating for that one room while the window is open stops it wasting energy, and puts it back automatically afterwards.
Some smart heating systems and valves already do a version of this on their own, so check before you build anything. Home Assistant is still worth using when you want one consistent rule across mixed brands, a delay you control, or a window sensor from a different manufacturer from your radiator valve. The popular Better Thermostat custom integration lists "let your windows disable your heating" as one of its core features, which shows how common the need is.
Step 1: Check the sensor reports "window" correctly
Home Assistant treats a binary sensor with the window device class as open when it is on and closed when it is off. Many contact sensors arrive with the generic "door" class, which works but will give you the wrong triggers in the automation editor.
Open Settings > Devices & services > Entities, select the sensor, open its settings cog and change Show as to Window. Then check Settings > Developer tools > States while you open and close the window: the state should flip between on (open) and off (closed). Rename the entity to something plain such as binary_sensor.lounge_window so the YAML below is easy to read.
Step 2: Combine several windows into one room sensor
If the room has more than one opening, create a single sensor that reports "open" when any of them is open, so one automation handles the room. Go to Settings > Devices & services > Helpers > Create helper > Group > Binary sensor group, pick the room's window sensors, and set it to be on when any member is on. Give it the window device class and call it binary_sensor.lounge_windows.
Skip this step if the room has one window. Our groups guide and helpers guide explain the helper types if you want more detail.
Step 3: Build the "window open" automation
This automation waits for the window to stay open for three minutes, saves the thermostat's current state, then turns the heating off. The wait is what stops a quick airing from switching your heating off and on.
alias: Lounge heating off when window open
mode: single
triggers:
  - trigger: state
    entity_id: binary_sensor.lounge_windows
    to: "on"
    for: "00:03:00"
actions:
  - action: scene.create
    data:
      scene_id: lounge_before_window
      snapshot_entities:
        - climate.lounge_radiator
  - action: climate.set_hvac_mode
    target:
      entity_id: climate.lounge_radiator
    data:
      hvac_mode: "off"
The for option means the sensor has to stay open for the whole three minutes, and the timer starts again if the window closes and reopens. The scene.create action records the thermostat's mode and target temperature in a temporary scene, which is how Home Assistant's own documentation handles an open-window example. Some devices have no "off" mode, in which case use climate.set_temperature to drop the target to a frost-safe 7 to 10°C instead, and read the scenes guide for how snapshots behave.
Step 4: Build the "window closed" automation that restores heating
Closing the window should bring the heating back exactly as it was. Create a second automation that reactivates the saved scene a short moment after the sensor goes back to closed.
alias: Lounge heating back on when window closed
mode: single
triggers:
  - trigger: state
    entity_id: binary_sensor.lounge_windows
    to: "off"
    for: "00:00:30"
conditions:
  - condition: state
    entity_id: climate.lounge_radiator
    state: "off"
actions:
  - action: scene.turn_on
    target:
      entity_id: scene.lounge_before_window
The condition is a safety net: it only restores the scene if the thermostat is currently off, so it will not overwrite a setting you changed by hand while the window was open. The 30-second delay avoids reacting to a sensor that briefly flickers.
Does the restore survive a Home Assistant restart?
Not reliably. A scene made with scene.create is temporary, and Home Assistant's scene documentation says that reloading scenes removes the ones created this way. Treat a restart in the middle of an open window the same way. If it happens, the restore automation will find no scene, so add a fallback.
The simplest fallback is a third automation with a Home Assistant start trigger that checks whether the room window is closed and the thermostat is off, and if so calls climate.set_hvac_mode with heat. For a house on a simple weekly schedule that is usually all you need, because the schedule resumes control. For deeper control of how the schedule and automations interact, see the heating control guide.
Step 5: Test it end to end
Do not wait for a cold morning to find out it is broken. Temporarily change both for values to ten seconds and walk through a real test:
- Open the window and wait ten seconds. The thermostat should switch to off.
- Open Settings > Automations & scenes, select the automation, and open its Traces tab to confirm it ran and which step it reached.
- Close the window, wait, and confirm the thermostat returns to its earlier mode and target.
- Open and close the window inside the delay, and confirm nothing happened.
Set the delays back to three minutes and 30 seconds when you are done.
Step 6: Add a notification and a frost guard
Two small additions make the automation safer. First, add a notification action after the heating switches off, so you know when it fires: a message like "Lounge heating paused: window open" sent through the companion app. If the window is still open an hour later, send a reminder. This also catches a window left open overnight.
Second, protect against cold snaps. A thermostat switched fully off in a freezing room is a risk for pipes, so either set the open-window target to a frost-safe temperature rather than off, or add a condition that skips the automation when the outside temperature is below about 2°C. Our frost alert guide shows how to work with the same forecast and temperature data.
Common problems and fixes: why isn't my open-window automation working?
It never triggers: check the sensor state in Developer tools. Some sensors report on when closed. If yours is inverted, flip the logic or fix it at the device.
It triggers instantly or too often: the for option is missing or sits on the wrong trigger. It must be on the same trigger that checks for on.
The heating never comes back: the scene probably does not exist, because scenes created this way are lost on a reload. Look in Developer tools > States for scene.lounge_before_window, and use the start-up fallback in the restart section.
The thermostat ignores the command: some devices reject off and only support heat and auto. Lower the target temperature instead of switching it off.
Sensors drop offline: a battery sensor that goes unavailable never reports closed. The restore automation will not fire, so add a catch-all that restores heating if the sensor becomes unavailable for ten minutes. The state trigger documentation explains how unavailable and unknown states behave in triggers.
What should you build next?
Once the pattern works for one room, copy it for the rest of the house, using a blueprint or a single automation with several triggers and a room variable. Combine it with presence detection to drop the temperature when nobody is home, and use the same window sensors for security alerts, as covered in the window sensor roundup. Per-room control is where a Home Assistant heating setup pulls ahead of a single wall thermostat.