Start with triggers, not schedules
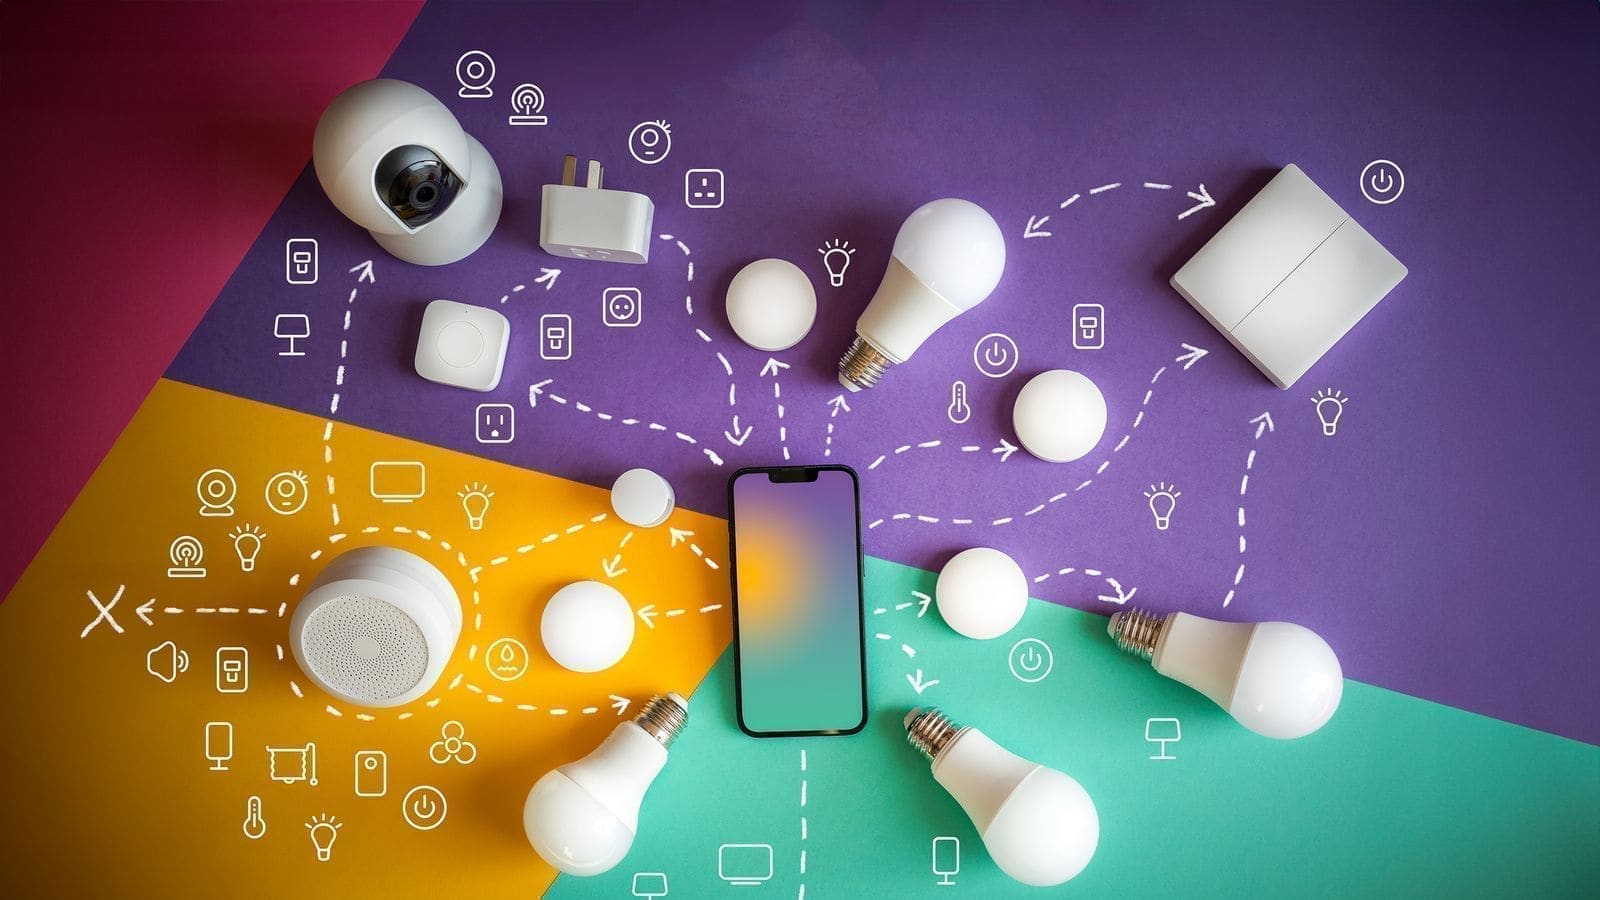
A trigger is the event that starts an automation — a sensor changing state, a time being reached, or a person arriving home. Home Assistant's automation engine supports several trigger types side by side in the same automation, and "the automation will start as soon as any of them fires," according to the Home Assistant trigger documentation. For lighting, the three worth building around first are state triggers (a motion sensor or door sensor changing), sun-based triggers (sunrise/sunset with offsets), and time triggers for anything genuinely fixed, like an early-morning kitchen light.
Fixed clock times are the weakest option because they ignore what's happening in the room. A motion-triggered landing light that only fires when someone is actually on the stairs at 2am is more useful — and less annoying to a partner who goes to bed later — than a hallway light on a 10pm–7am schedule. If you haven't picked sensors yet, our guide to the best Zigbee motion sensors for Home Assistant covers the models with adjustable timeout and lux thresholds, which matter more for this than raw price.
Use sun elevation, not a fixed sunset time
The sun moves at a different pace through the seasons, so a lighting automation pinned to "sunset" or a clock time will feel wrong for large parts of the year — too early in June, too late in December. Home Assistant's sun integration calculates sunrise, sunset, dawn and dusk from your home's configured location and also exposes the sun's elevation — "the angle between the sun and the horizon" — as an entity. Triggering on elevation rather than a fixed offset from sunset means lights come on at a consistent level of actual darkness all year round, rather than a consistent clock time that drifts out of sync with the daylight.
A practical version: trigger on sun elevation reaching around 0° to -6° for outdoor and hallway lighting, so it responds to how dark it genuinely is outside rather than the calendar. Combine that with a motion condition indoors so lights only fire in rooms that are occupied, not every room in the house at once.
Layer scenes instead of single on/off states
Turning a light "on" is a binary state; a scene is a saved combination of brightness, colour and which fixtures are included. Home Assistant's scene documentation describes a scene entity as something that can "restore the state of a group of entities" — for example a dimmed, warm-toned "Evening" scene versus a bright, cool-toned "Focus" scene for the same room. Scenes can be activated from an automation with a single scene.turn_on action, which keeps the automation itself simple even when the lighting result is fairly elaborate.
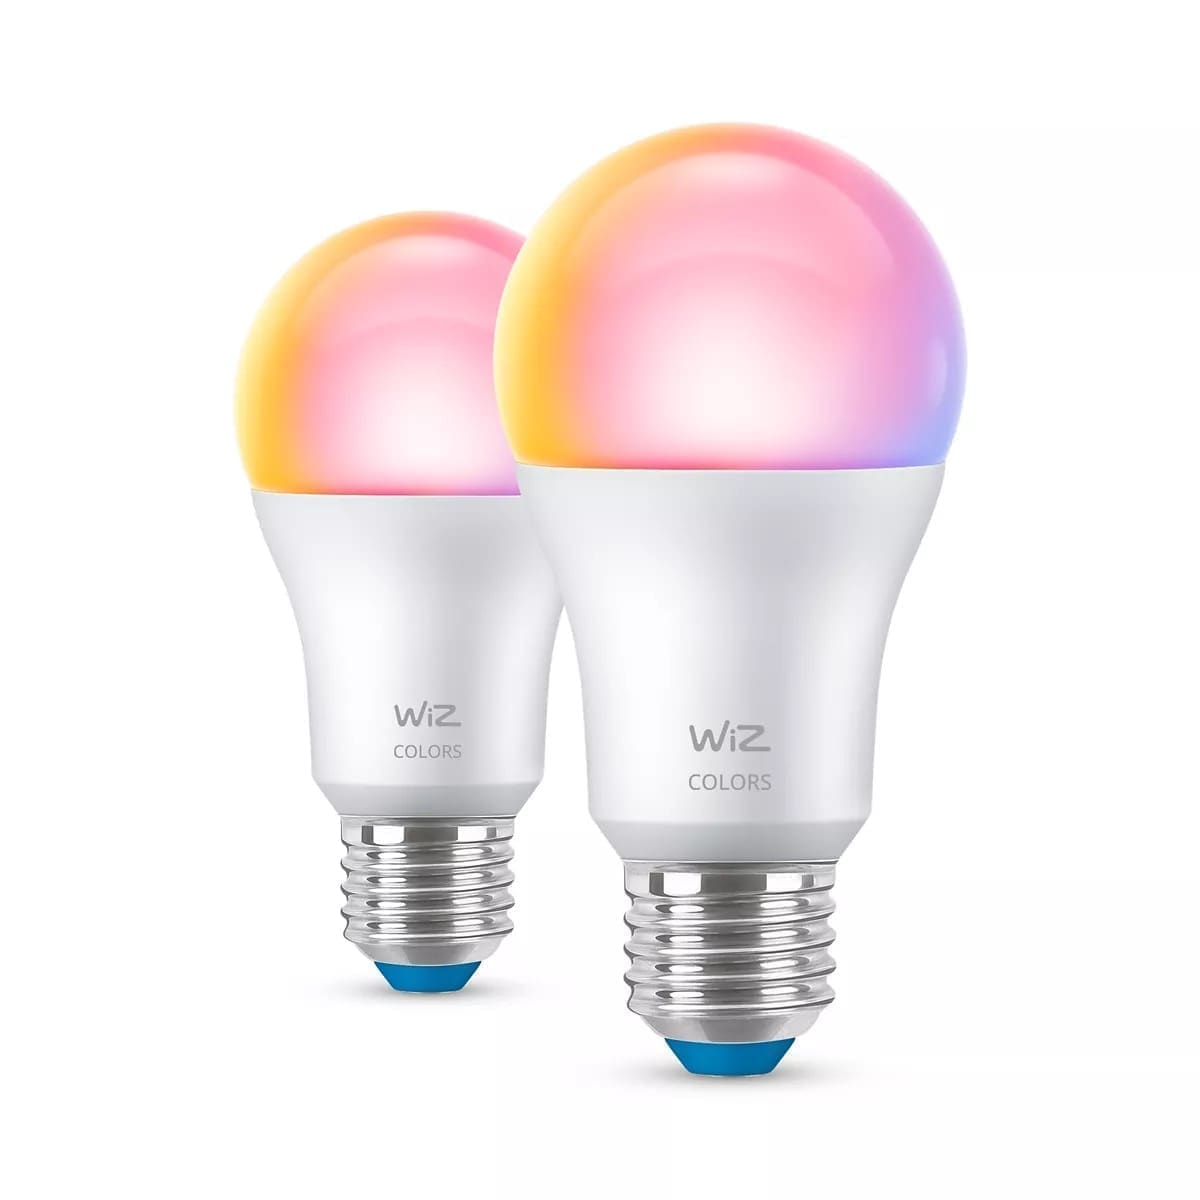
This is also where colour-capable systems earn their higher price over basic on/off smart plugs. If you're deciding between ecosystems, our comparison of Philips Hue vs WiZ vs LIFX covers how each handles scenes and automation depth, since that varies more between brands than raw brightness or bulb price does.
Add presence detection for arrivals and away mode
Motion sensors handle activity inside a room; presence detection handles the front-door moment of arriving home or the last-person-out moment of leaving. Home Assistant's person integration combines device trackers (Wi-Fi connection, GPS, Bluetooth) into a single home/away state per household member, and works with zones so an automation can react specifically to someone entering or leaving a defined area rather than just any movement on their phone's GPS.
Two automations worth setting up here: an "arriving home after dark" automation that fires a welcome scene when the first person's status changes to home and the sun is below the horizon, and an "everyone away" automation that turns off all lights a few minutes after the last person leaves — useful both for energy and for not broadcasting an empty house through lit windows.
Group by zone, not just by room
Automations get noticeably easier to manage once lights are grouped logically rather than targeted one bulb at a time. A "downstairs" zone that bundles hallway, kitchen and living room lets a single bedtime automation switch everything off in one action instead of five. If you're setting this up for the first time, our smart lighting zones guide for UK homes walks through planning zones room by room and which systems handle overlapping zones (a bulb belonging to both "downstairs" and "kitchen worktop", for example) most cleanly.
For actions, Home Assistant automations target lights by entity ID and can set brightness or colour directly — the automation actions documentation gives the example of a light.turn_on action targeting multiple entities at once with shared brightness and colour parameters, which is exactly the mechanism zone-based automations rely on.
Common mistakes that make automations feel clunky
Too many triggers fighting each other. A motion automation and a time-based automation both targeting the same light can flicker or override one another. Use conditions (is it dark? is anyone marked away?) inside a single automation rather than stacking separate automations for the same light.
No cooldown on motion triggers. A motion sensor with a short timeout re-triggering a light every few seconds while someone sits still is the single most common complaint with motion lighting — check the sensor's timeout is adjustable before relying on it for a room people sit in, not just pass through.
Ignoring guests and routine changes. An automation tuned perfectly for a couple's routine will misfire the week visitors stay over. Building in a manual override — a physical switch or a dashboard toggle that disables automations for a room — avoids having to edit YAML every time the routine changes.
Automating light colour changes at the wrong moment. A sudden colour-temperature shift mid-film is jarring; if you're automating a room used for watching TV or films, pace transitions gently — our smart lighting for a home cinema guide covers timing lighting changes around playback rather than a fixed clock.
A simple starting set of automations
If you're starting from scratch, three automations cover most of the practical benefit: a motion-triggered light in each frequently-used but not-always-occupied room (hallway, landing, utility room) with a short cooldown; a sun-elevation-based "lights on" trigger for the living areas that adjusts with the seasons instead of a fixed clock time; and an "everyone away" automation that switches off remaining lights a few minutes after the last person leaves the house. Everything after that — scenes, colour changes, geofenced welcome lighting — is refinement rather than necessity.